Showing posts with label recipe. Show all posts

Thursday, January 15, 2015

Mireillade (a bell pepper ratatouille)


Here's a unique recipe with multiple tastes that makes a great side dish with meat, or just eaten plain over rice.  It's a French dish called Mireillade, a bell pepper ratatouille. Although it features bell peppers, I find the grapes and lemons make the dish.

Preparation time: 15 minutes
Cooking time: 180 minutes

Ingredients

3 red peppers
3 yellow peppers
3 green peppers
1/2 cup Black olives
1/2 cup Green olives (I used Castelvetrano)
1 to 2 lemons (according to taste)
Salt & Pepper
Olive oil
A large bunch of seedless grapes (I used Sun World's Adora Seedless® Black Grapes)

Preparation:

Wash all ingredients, cut the peppers into small to medium squares, olives in half.  Wash the lemons and cut into very thin slices leaving the skin on and quarter. Remove the grapes from the stems and wash, leaving whole. You can use other grape varieties, but you'll want to consider the taste blending when you also choose the varieties of black and green peppers to make a complimentary mix of flavors.  I do recommend grape varieties with a large size so they don't turn into raisins and have enough juice to blend into the lemon slices.


Take a large shallow sheet pan, one that you can layer the ingredients as flat as possible. Mix and layer all the ingredients into the pan.  Drizzle olive oil over the ingredients in the pan, and salt and pepper to taste.  The ingredients will be reduced to about half through cooking.


Bake for 3 hours at 300° F, stirring regularly (about every 1/2 hour).

Serves 6 (large servings)


Here is the finished product I kept warm in a small crock pot (not all would fit into the pot at a time). I served it with turkey to raves from friends.  The grapes add a sweetness and turn the lemon slices into sour candy-like pieces.  I learned about Sun World grapes while consulting (non-food related) for Sun World.  Sun World has developed proprietary varieties that are larger and more flavorful, in my opinion, than the usual grapes at the market.  These remind me of premium grapes I ate in Japan, and had not ever seen in the market in the US (back in the 70s).  I snatch any of their varieties up whenever I see them at Safeway.


Thursday, September 11, 2014

Fleeting Hatch Chiles


Are Hatch Chiles on your radar?  


These beauties are only in season a few weeks each summer, and still available for a couple weeks at our bay area Mollie Stone's Markets. Hatch Chiles are only grown in the Mesilla Valley of New Mexico, and its season is in August and September.


I got my hands on some fresh ones and took them to a friend's house for a birthday barbecue.  First I split them so that the flat side would rest well on the grill.


Then these prepped chiles got a quick bath in a fresh lemon and olive oil mixture I whisked together.


With the oil marinade, it's not surprising that these flamed up a bit on the grill.


Nicely grilled, the Hatch Chiles made a nice addition to the summer's bounty of grilled vegetables.


There are other ways to preserve the experience year round, with dried Hatch Chiles, Hatch Chili powder and a peppy Hatch Salsa. Melissa's makes the Hatch Chile powder and the Hatch Salsa.  Melissa's also provides fresh Hatch Chiles by the case to Mollie Stone's. A Hatch Chile cookbook is available for sale at Mollie's as well, with 176 pages of Hatch Chile inspiration.


The Hatch Chiles I bought were pretty mild with only a slight kick.  The Hatch Salsa was a little spicier.


I brought the salsa to the birthday barbecue as well.  My friends gave it a thumbs up and it disappeared fast. Mollie Stone's is celebrating the season not only with roasts at it's various San Francisco bay area locations, but its delis and bakeries are including it in some seasonal dishes, such as twice baked potatoes with Hatch Chiles, a Hatch Chile corn bread, and I even saw a Hatch Chile Relleno Casserole in its Sausalito store. Celebrate the Hatch Chiles as part of the fleeting fall season. And if you need another reason, a medium-sized fresh Hatch Chile has as much vitamin C as six oranges!

Sunday, April 03, 2011

Tofu Mozzarella

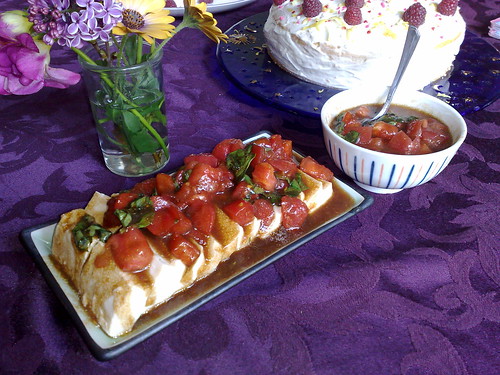
Tofu mozzarella

My friend Sachiko explained how to make this fabulous vegan tofu 'mozzarella' dish over dinner on a recent visit from Japan.

Tofu Mozzarella

1 block silken tofu (must be silken)
salt
Paper towels (4 piece long, unbroken)
Plastic wrap

Sauce
1 heirloom tomato, chopped
handful of fresh basil, chopped
Extra Virgin Olive Oil
Basalmic vinegar

Directions


  1. Start the morning before the day you wish to use it.
  2. Carefully rinse and drain the silken tofu, handling carefully as it breaks easily.
  3. Put an unbroken strip of about 4 paper towels on a plate.
  4. Carefully put the silken tofu on the paper towel strip, towards the beginning end.
  5. Lightly salt the tofu on all sides.
  6. Carefully wrap the tofu in the paper towel strip by rolling.
  7. Carefully wrap the paper towel encased tofu in plastic wrap.
  8. Place wrapped tofu on plate.
  9. Chill in refrigerator all day and overnight.
  10. The next morning, carefully take off the wrapping, and throw away the wet paper towels, reserving the plastic wrap.
  11. Carefully rewrap the now shrunken tofu block in another strip of 4 paper towels.
  12. Rewrap the paper towel encased tofu, put back on plate and into the refrigerator
  13. Just before serving in the evening, take it out, remove all wrapping, place on plate.
  14. You can leave it whole and pour on the sauce, or did as above and slice it in thin slices and spread out slightly so more sauce is absorbed.
  15. Pour the sauce over the tofu and serve.
Sauce Directions


  1. Combine chopped tomato and basil in a plastic bag that zips tight.
  2. Pour in EVOO and balsamic vinegar.
  3. Let sit 30 minutes.
  4. Pour over the sliced tofu.
Alternatively, you can put the freshly chopped tomato and basil over the tofu, then drizzle on the EVOO and balsamic vinegar.  The pictured dish uses the baggie approach as I took the dish to a birthday party to share and the bagged approach made transport and assembly easier.

I also think that this 'cured' tofu would take to other sauces well.  It has the consistency of fresh mozzarella cheese, very tender and mild.  I'm thinking of trying a miso/sesame sauce over it for example.

What I've been up to lately

I had a great evening with my friend who writes Zoomie Station having dinner at Harmony in Mill Valley and attending Michael Pollan's "Sun Food Agenda" at the Marin Civic Center on March 24.  He is entertaining and informative (as expected) and worth the effort to procure tickets and move yourself to where ever he is speaking within a reasonable distance of you.

I take my reporting for food news for Bread and Butter for the Marin IJ seriously but with a light hearted pen, and do a lot of research for each column, which lessens my time to blog all the cool finds I come across.  I feel lucky to live in Marin where there are always new and cool things percolating up to the surface.

I have had numerous computer glitches, failures and other disasters, the most recent being a near loss of the back up and only copy of files on a computer that failed.  So it was no longer the back up, but the primary storage.  It failed, and my friends at Drive Savers recovered 90%, and I picked it up with my $2100 miniature flashlight last Wednesday.  Now I'm making back ups of my back ups as I don't need any  more $2100 recoveries even if they come with a cute flashlight.  Naturally it had my photos, so now I can work on posting some cool finds in between my journalistic research and other life activities.

Wednesday, November 04, 2009

Abundance creeps up

Broccoli, Leek and Parsley Potatoes

As you know, I share a CSA box from Capay Farm with my neighbor Jerrie each week. She has taken on the task of receiving and splitting it for which I'm very grateful. I'm continually surprised at how much fresh organic produce is in just half the box! And just how short a week is to use it. Lucky for me, the recently picked organic produce seems to have a much better shelf life than what can be purchased in most groceries. And you find yourself including some very healthy things in your diet that you may have passed by.

I like beets, but when you get a few every week, and you know that these keep well, before you know it you have about half a crisper drawer of beets! Lucky for me, my friend Cindy had a couple of unique suggestions. Simmering beets with carrots and onions in a savory broth of your choice is a surprisingly delicious option. Everything turns a bit ruby colored, but it lends a bit of intrigue to the dish.

I found myself with a big bunch of Italian flat leafed parsley, some broccoli and a leek which I hadn't managed to use last week. Some beautiful potatoes also came in yesterday's box. Dinner was born!

Since many people don't realize what a powerhouse of nutrition parsley is I thought that my simple dish was worth entering into this week's Weekend Herb Blogging which is celebrating its 4th year this week. Haalo from Cook (Almost) Anything (at Least) Once is hosting and who is now the master organizer after the originator, Kalyn, passed the torch on.

For a long time, I too observed parsley as a decoration. Sometimes the Norwegian relatives would butter up some potatoes and sprinkle some chopped parsley over them and toss. These would generally be served with white fish. The parsley was again really a pretty dress-up rather than an integral part of the dish, even though it was called "Parsleyed Potatoes".

My first realization that parsley could be something much more was when I was in college and a friend from the Middle East put as much chopped parsley as hamburger in a dish called kiftah. Wow, did it ever freshen up the meat!

Later I was introduced to Persian soup making where parsley is one of the main ingredients of several delicious soups. Persian Aash (soup) features copious amounts of green herbs.

[RECIPE]

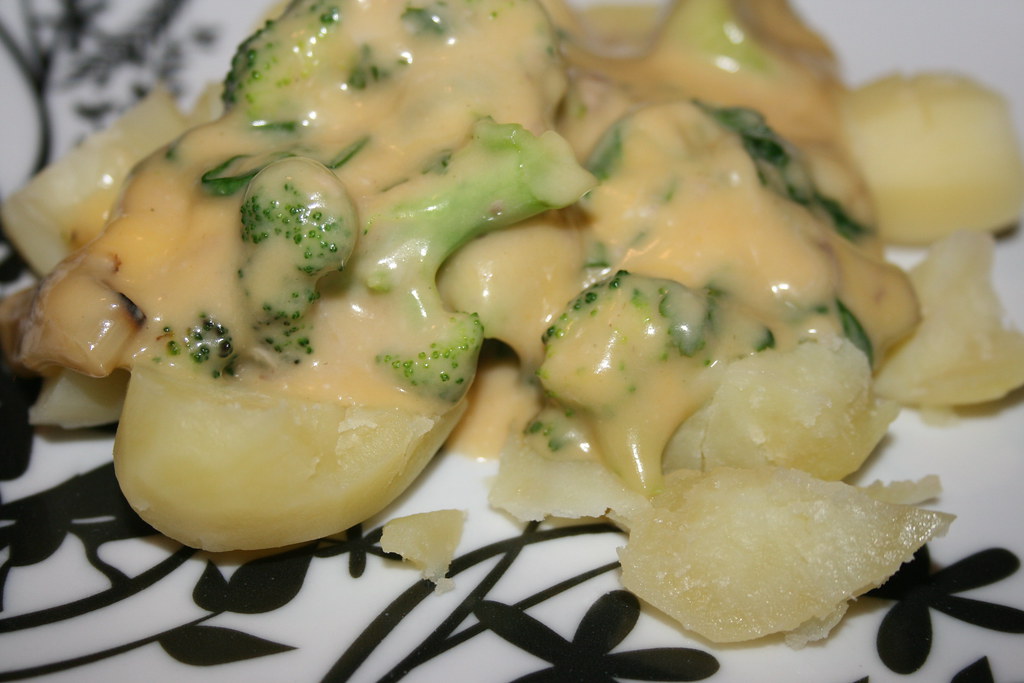
For dinner last night, to solve my CSA abundance, I boiled some of its potatoes and used those as a bed for an herbed vegetable sauce. I sauteed a chopped clove of garlic with rounds of leek. Once the leek was sweating, I added broccoli flowerettes. The final touch before adding the saucier ingredients was adding about 2 cups of loosely packed Italian flat parsley leaves. Many would think that would be so much as to overpower the dish, but au contraire, it was the perfect thing to pick it up! To the vegetable - herb mix I added one can of Campbell's mushroom soup, and one can of Campbell's Cheddar Cheese soup. I stirred it to mix the soups thoroughly, added enough water to thin to my satisfaction and ladled the bubbling sauce over the freshly boiled potatoes.

[HEALTH BENEFITS]

Simply, where else with 2 tablespoons of an herb and 2.7 calories(!) can you get:

153.8% DV of Vitamin K
15.6% DV of Vitamin C
12.6% of Vitamin A
2.9% DV of folate
2.6% DV of iron

In 2 tablespoons!

I've also read that parsley contains volatile oils-particularly myristicin, which have been shown to inhibit tumor formation in animal studies, and particularly, tumor formation in the lungs.

The potato dish with parsley-leek-broccoli in mushroom-cheddar sauce was a taste hit with my father, and I liked it too!

Wednesday, October 28, 2009

Home cooked meal

Garden Tomato in olive oil and rice vinegar

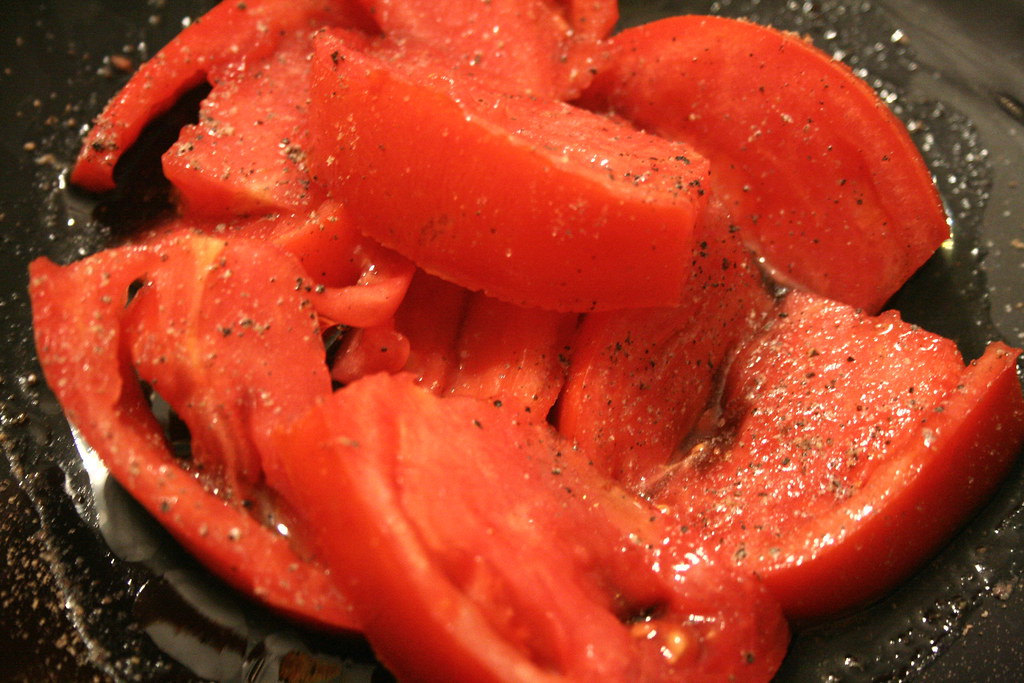
I just couldn't bear to go out in traffic again this evening after struggling just a short way home from Sausalito to Mill Valley. That cable snap incident closing the entire Bay Bridge has snarled traffic all over. So I sliced a beautiful red tomato out of my friend Linda's Glen Ellen garden, added E.V.O.O., rice vinegar, salt & pepper and enjoyed it while cooking the next thing.

Mushroom Brie

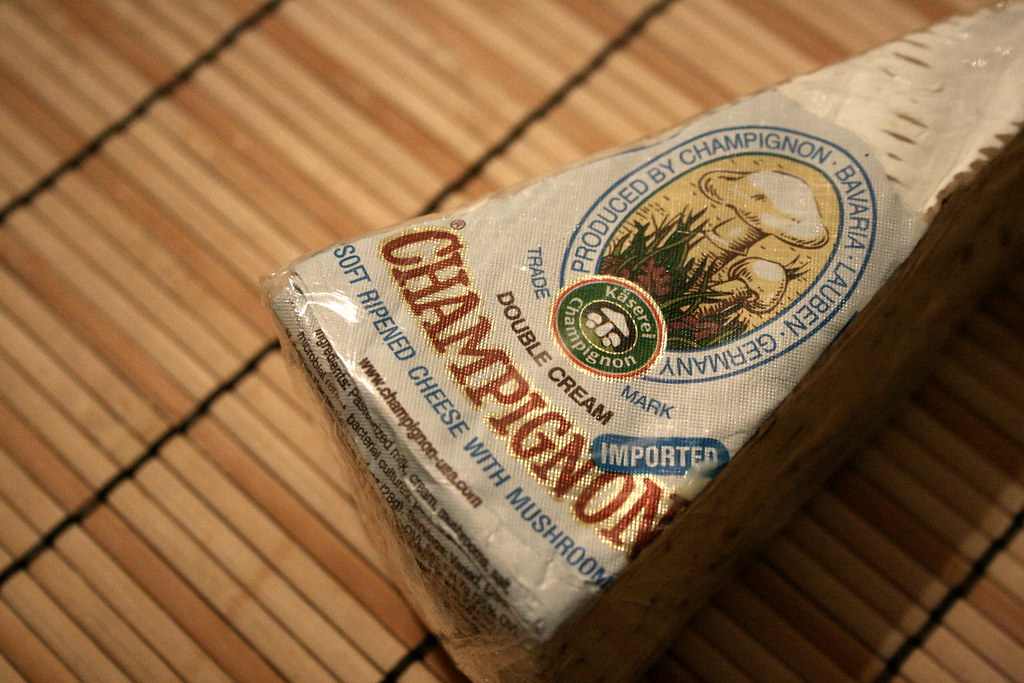
While stopping at Molly Stone's for some goat milk, there was a man dressed as a chef (was he?) offering samples of a German Brie, double-cream with mushrooms. Oh, it was delightful! A triangle of it slipped in right next to the goat's milk in my cart. I also ended up with a bag of mixed lovely fresh pears.

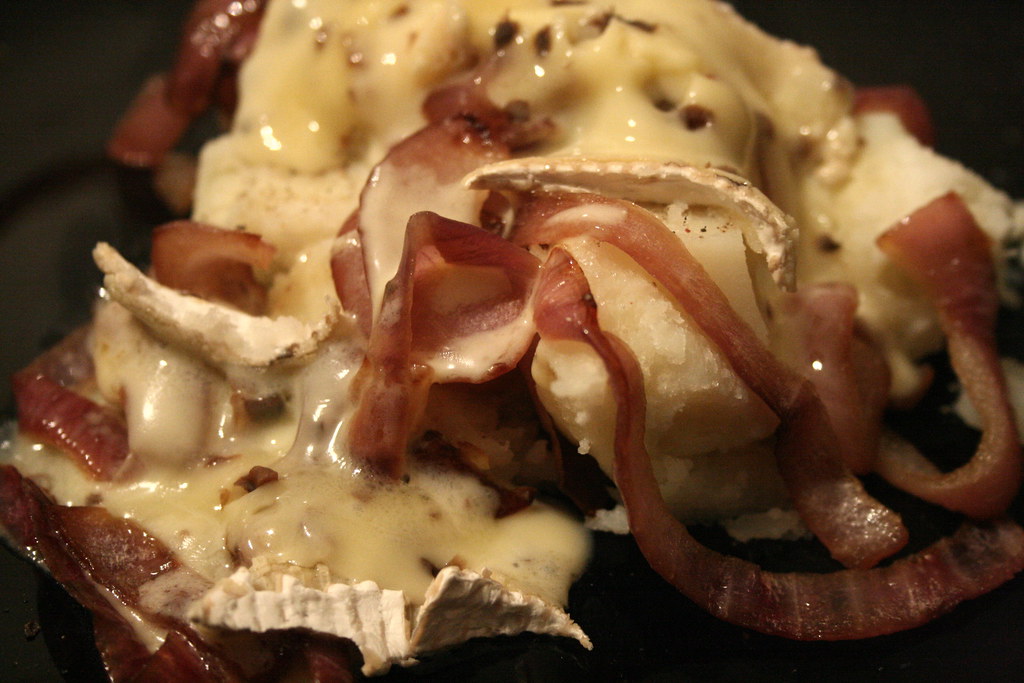
Potato, red onion and mushroom brie

I thought this creamy brie would make a great topping for my organic potatoes and thought that caramelizing a red onion for it would not be a bad idea either. So as the potato was boiling, I slowly sauteed a cut up organic red onion in E.V.O.O. Placing a layer of sliced cooked potato on my plate, I topped it with a generous amount of the very soft, sweet red onion. I placed some Champignon Brie slices on top of it all, and microwaved for about a minute. Dessert was a naked fresh pear. I'm glad I stayed home!

Saturday, July 25, 2009

Corn cakes for breakfast

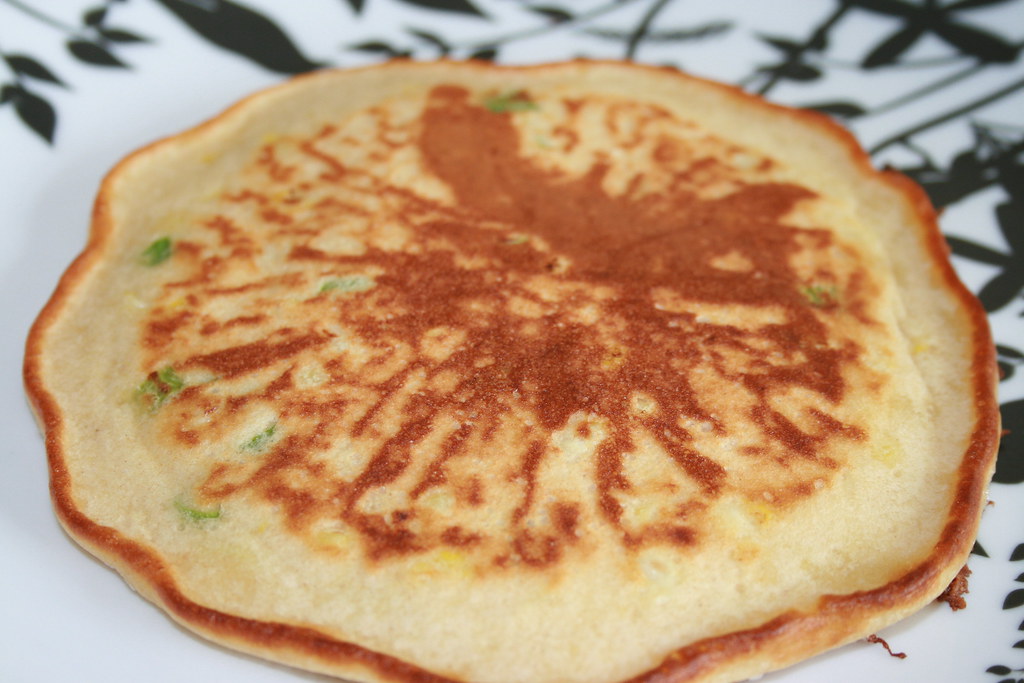
Savory Corn Cake

When you have corn on the cob in the CSA box and have a father who can't eat it on the cob, more creative thoughts come to mind. I remembered my mother making savory corn cakes, and thought why not for breakfast? The one above was the first one out of the pan, so it shows the pattern of the olive oil and a bit crispier edges than the rest of the batch.

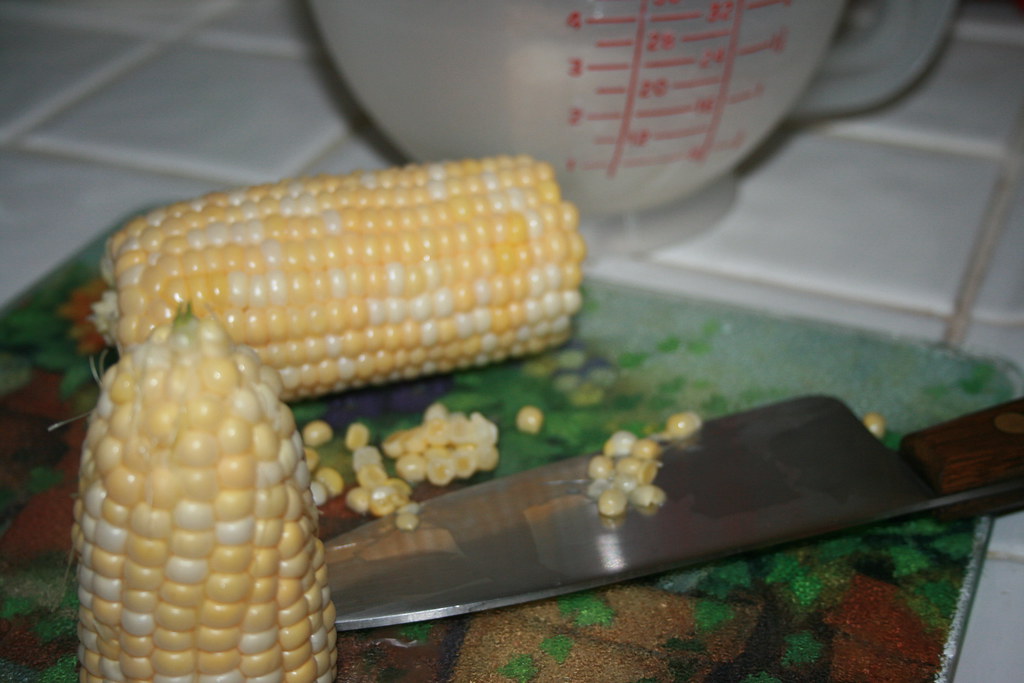
Fresh Organic Corn

I started by cutting off the kernels from the fresh corn. I thought I had all the silk pulled off the ear, but when I started cutting I had to start a new round of pulling it out from the places it had tightly squeezed itself into around the kernels.

Savory Corn Cake close up

I also chopped up some tops of green onion for it. To make it you basically mix in the chopped green onions and fresh corn into a pancake batter. My batter was a amaranth flour, whole wheat flour, unbleached flour mix of about a cup, to 2 tsp baking powder, 1/4 tsp salt, 1 beaten egg, 1 cup buttermilk and a little water until it was the right consistency. Then you just cook these like pancakes and serve with butter. Dad and I both enjoyed this savory corn cake breakfast.

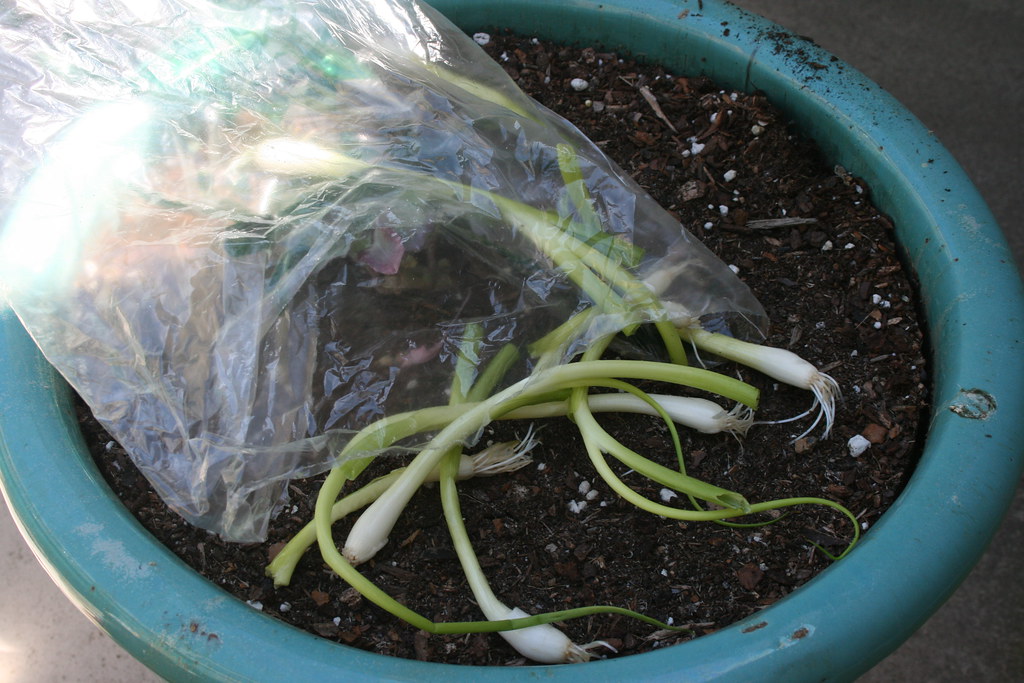
Reusing green onion bottoms

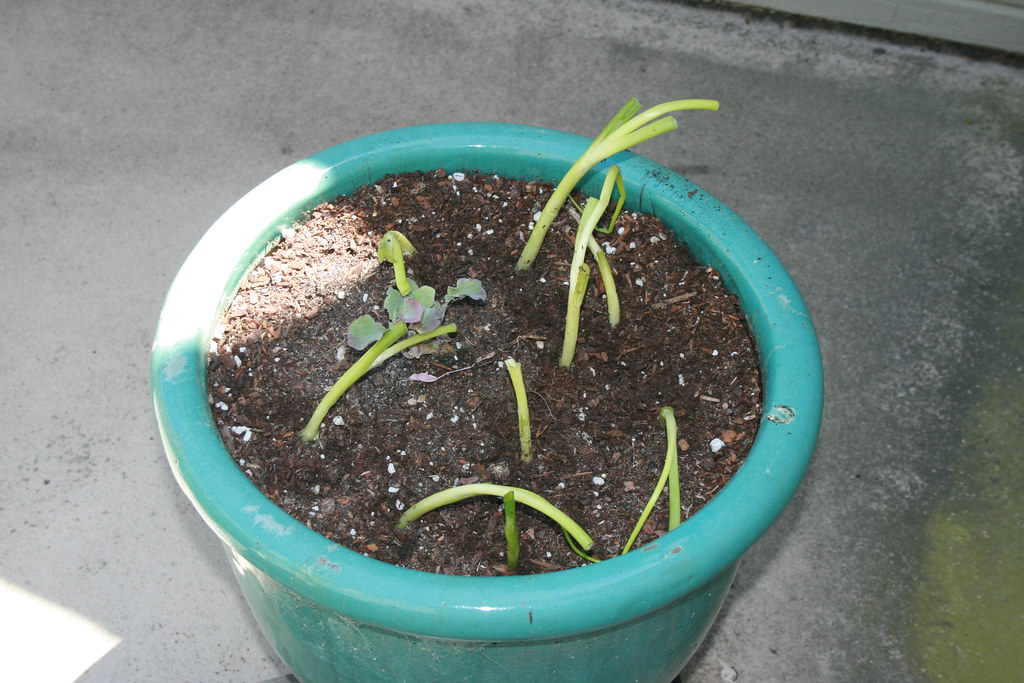
And I also had cut off enough green onion tops to plant in a planter. You know that the bottoms are easy to replant in a pot?

Green Onions in the pot

Never mind about the straight rows, nature doesn't do that anyway. As they regrow their tops, they will straighten up and start listing into the sun. It's surprising how long the green regrowth will last, and it's nice to have fresh green tops just cut from the 'garden'.

Monday, May 11, 2009

The day after

Garlic Roasted Crab with Sauteed Spinach

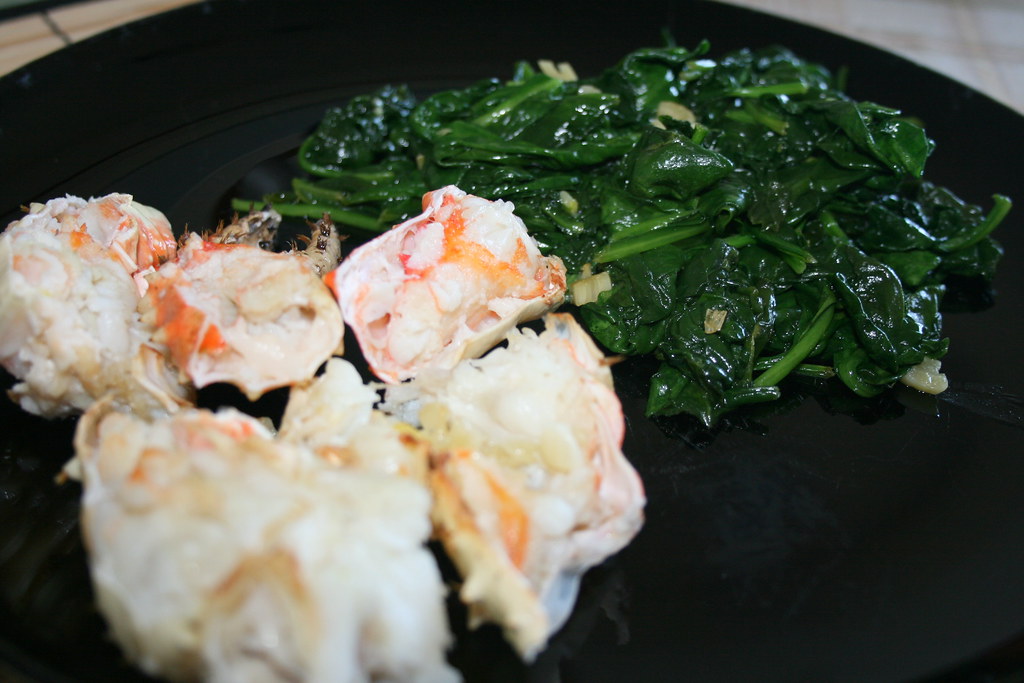
I hope all mothers had a Happy Mother's Day, and everyone else enjoyed yesterday too. Thinking that the restaurants would be overflowing, we decided to have a nice meal in. Safeway had a special on Alaskan King Crab for $9.99 lb. and some crab took our fancy. Since my father has difficulty eating shelled things, just can't see too well, I decided to make a roasted garlic crab preparation where I cut the shell partially away. My chicken sheers finally have a new purpose! We toasted my late mother and enjoyed the crab with a side of fresh spinach sauteed with garlic and a little E.V.O.O.

Garlic Roasted Alaskan King Crab

~ 2 lbs. cooked Alaskan King Crab
2 cloves garlic, minced
1/2 stick butter

Defrost (if frozen) the King Crab legs and cut in pieces at the bends of the legs as you like (I cut mine in smaller pieces than I normally would to help out my elderly father). Cut away 1/4 - 1/2 of one side of the shell. Put the minced garlic and butter together in a microwave safe dish and melt the butter in the microwave, or in a small saucepan. Arrange the legs open side up on a baking pan. Brush the garlic butter over the open parts leaving bits of minced garlic in the leg meat. Bake until warm, and broil for a couple minutes to finish. Serves 2 as main dish, more people as an appetizer.

Tuesday, April 07, 2009

Marin Hobo Stew

Marin Hobo Stew

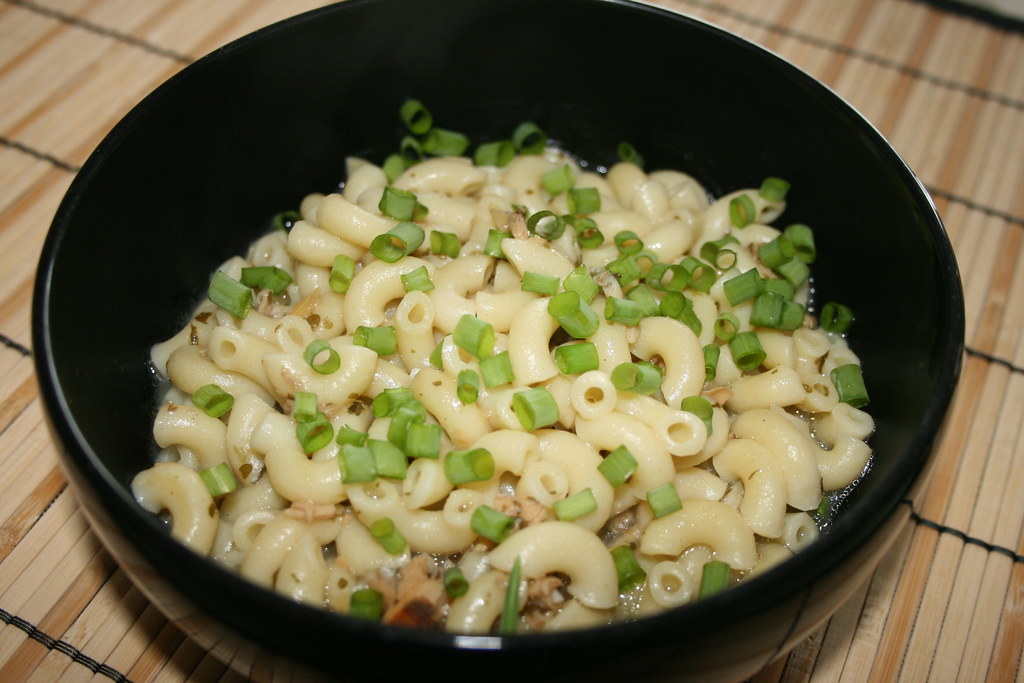
Well it's not really, but I call it that because the making of it reminded me of making "Hobo Stew" as a child. There was a wave of popularity when I was a child to have a party with Hobo Stew as the center of the party food. The host would have a big pot of stock, and each of the kids were to bring a can of anything to add. And we weren't supposed to coordinate, just see what happened. We kids had a lot of fun with that, and listening to the background of how the dish came to be in the Great Depression. I heard that there were cardboard cities that sprang up along popular train routes called "Hoovervilles", and a big pot was kept boiling to which everyone added whatever they had gleaned from the fields or otherwise came across to add to the pot, and all shared in the creation. In the end, the kids all loved the Hobo Stew, probably because each was a part of its creation.

As I resisted the pull of another meal out, I checked my cupboards and refrigerator to see what I could 'throw in the pot' so to speak. I had some leftover elbow noodles, some baby clams, and some white clam sauce, all of which I recalled had been plenty cheap. The elbow noodles were part of a bargain buy at Safeway where if you bought a certain number of items, the price per box fell to .75. I had gotten the baby clams at $1 a bag, and the white clam sauce in a great sale from Amazon at about $1.13 a can. And the fresh green onions were gleaned from the pot on my deck. Those I planted last summer from left over onions bottoms purchased from the store, and they have been producing green tops ever since. Given the amounts used of the ingredients, and the leftovers, I estimate each serving (as pictured) cost less than $.75. Hobo priced, and tasty!

Monday, April 06, 2009

Broccoli Flower Pizza - don't try this at home

Broccoli Flower Pizza

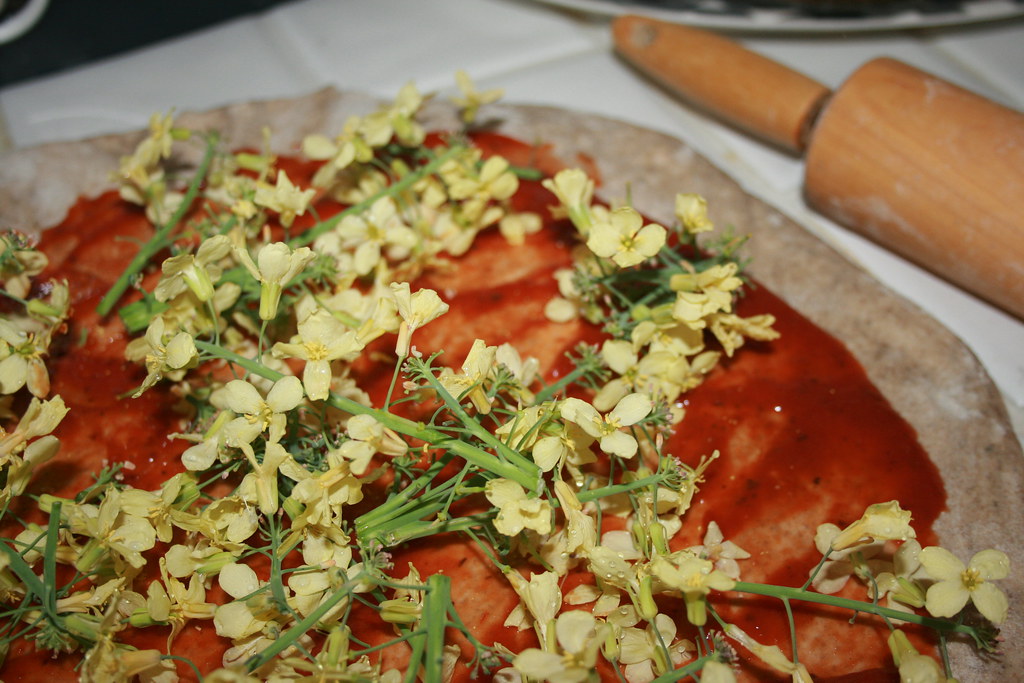
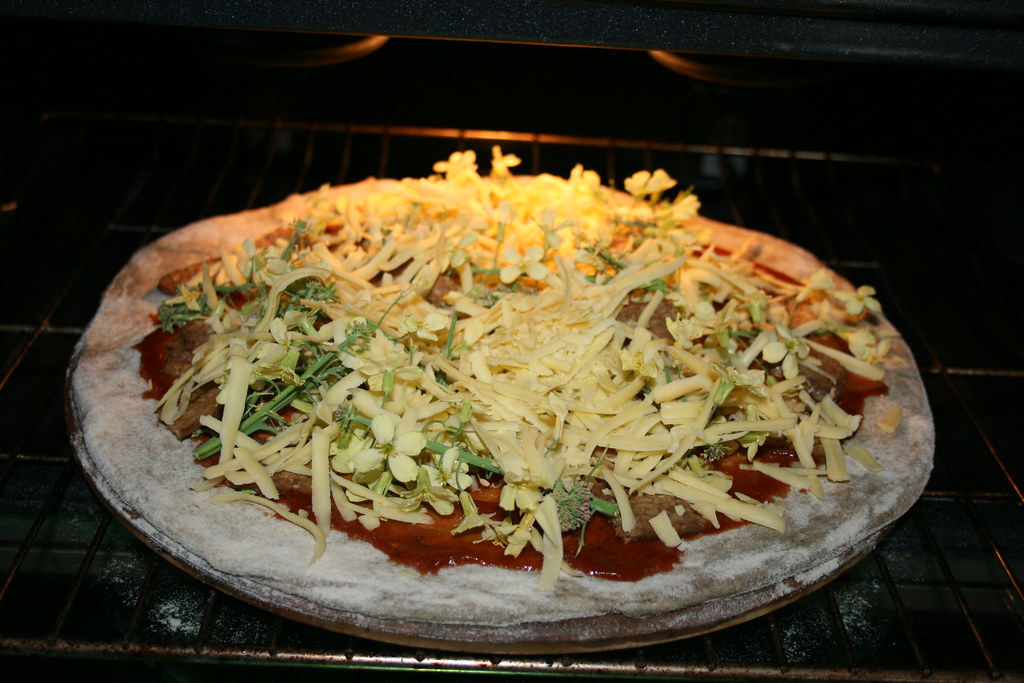
Being happy on a sunny Sunday, and puttering about the house, I had an idea for making some lunch at home using ingredients on hand. Now how else to use those broccoli flowers, I mused. I had used them in a salad previously. I spied a nice bag of whole wheat pizza dough from Trader Joe's in the refrigerator, and an idea was born.

In the oven

Soon I was popping the broccoli flower pizza in the oven.

Done

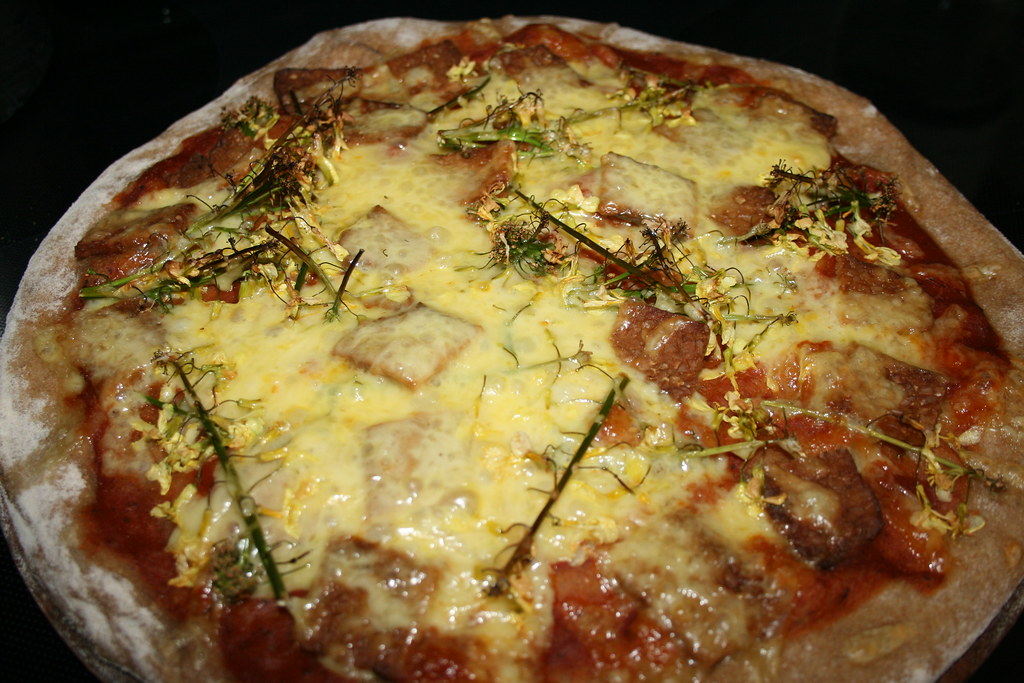
And about 10 minutes later, I was taking it out. Well, I rather suspected that the flowers would melt into the cheese.

Where are the broccoli flowers?

But what I didn't expect was that the stems would be so WOODY. A pizza that provides it's own toothpicks! Ah, well so goes being creative sometimes. Luckily, I included some tempeh 'bacon' so taking the toothpicks off yielded a tasty pizza anyway.

Friday, April 03, 2009

Ruby Red Potatoes

Ruby Red Potatoes

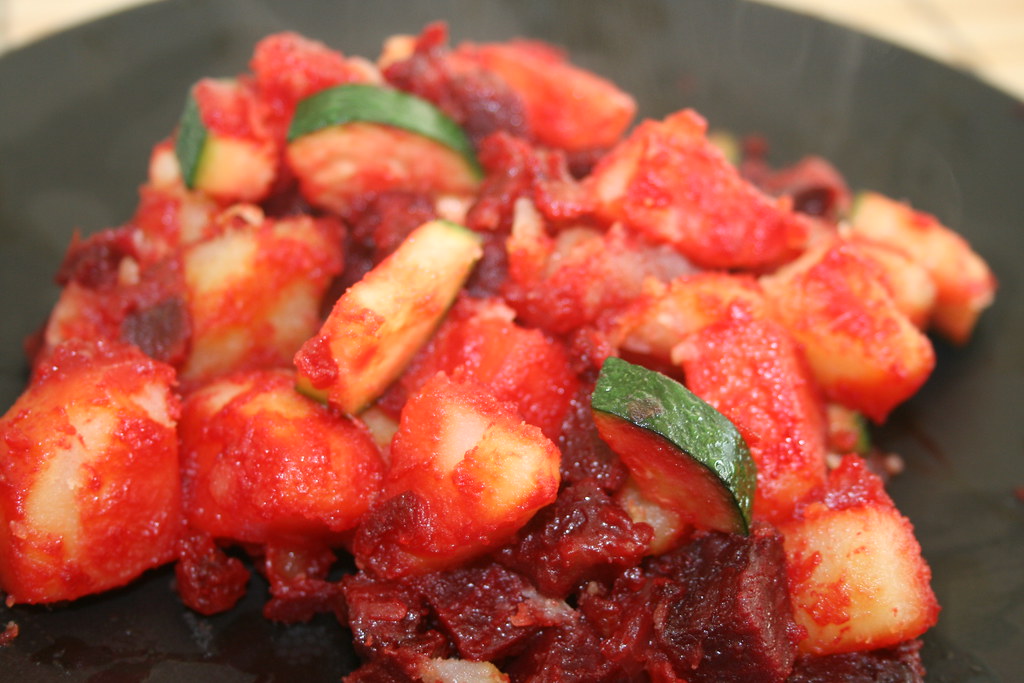
I'm feeling a bit like an "Iron Chef" with the advent of the weekly fresh, local and organic produce deliveries. The Iron Chef has 60 minutes and a surprise ingredient, while I have about a week and a variety of fresh produce to use all the way up. Last week's box contained a few red beets. Oh my, what do do with these beyond roasting or pickling?

Given that I also had quite a few potatoes, the idea of mixing the two and lightening up the potato dish came to mind. So these Ruby Red Potatoes were born, Father-tested and approved.

Ruby Red Potatoes

3-4 medium potatoes sliced in chunks
1 onion, diced
2 small red beets, peeled and diced into cubes
1 small zucchini sliced
Olive oil

1. Put some olive oil into a heavy frying pan and heat. Add onions and red beets, and sautee until onions are soft, and have turned pure red from the juice of the beets.
2. Add potates, continue sauteeing, and also cover and let steam cook for a few mintues to be sure that the potatoes become tender.
3. Add the sliced zucchini to the pan, and saute uncovered until done.

And this is my entry for Weekend Herb Blogging, hosted by Ivy of Kopiaste this week. Be sure to visit her site on Sunday afternoon or Monday to catch the round up of beautiful dishes.

Beets are the ingredient I'd like to highlight in this recipe as they are SO healthy. Certainly the World's Healthiest Foods thinks so! I quote from their website entry on beets:

"Remember all those legendary Russian centenarians? Beets, frequently consumed either pickled or in borscht, the traditional Russian soup, may be one reason behind their long and healthy lives. These colorful root vegetables contain powerful nutrient compounds that help protect against heart disease, birth defects and certain cancers, especially colon cancer."

Tuesday, March 31, 2009

Not Grandma's Breakfast

Chard Potato Tempeh

Now that I've received my overflowing 'half' of a box of fruits and veggies locally delivered every week, I have to use those wonderful fresh pieces of produce! The other morning I became rather creative and made potatoes with tempeh and wilted swiss chard, topped with an egg. Dad loved it, and I thought it was a nice way to lighten up breakfast and get in a few more of those very healthy leafy greens! My next delivery is due today! So you may be seeing a larger portion of home cooking on this blog in the foreseeable future.

Monday, November 24, 2008

Feijoa

Feijoa

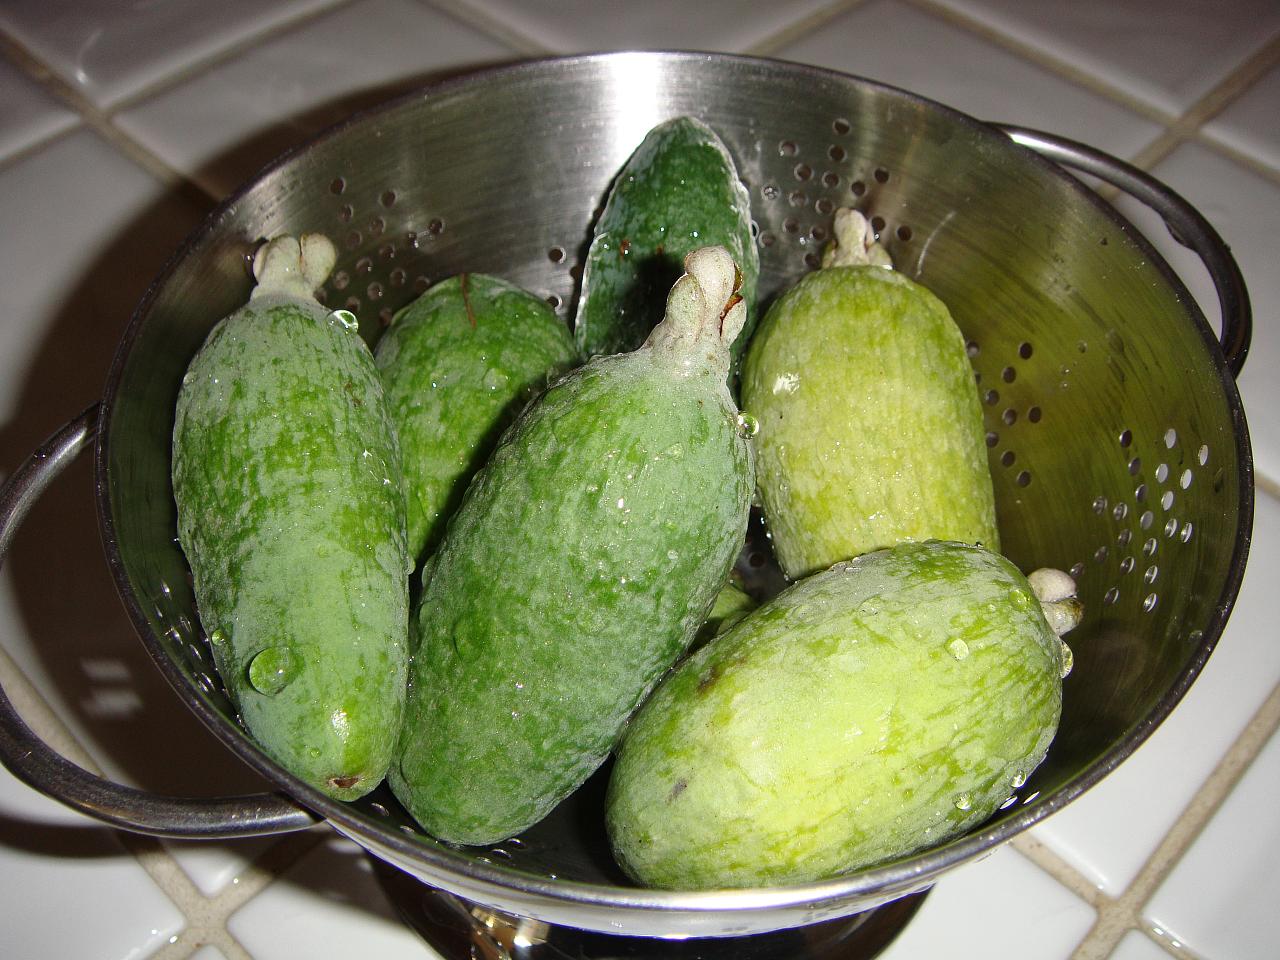
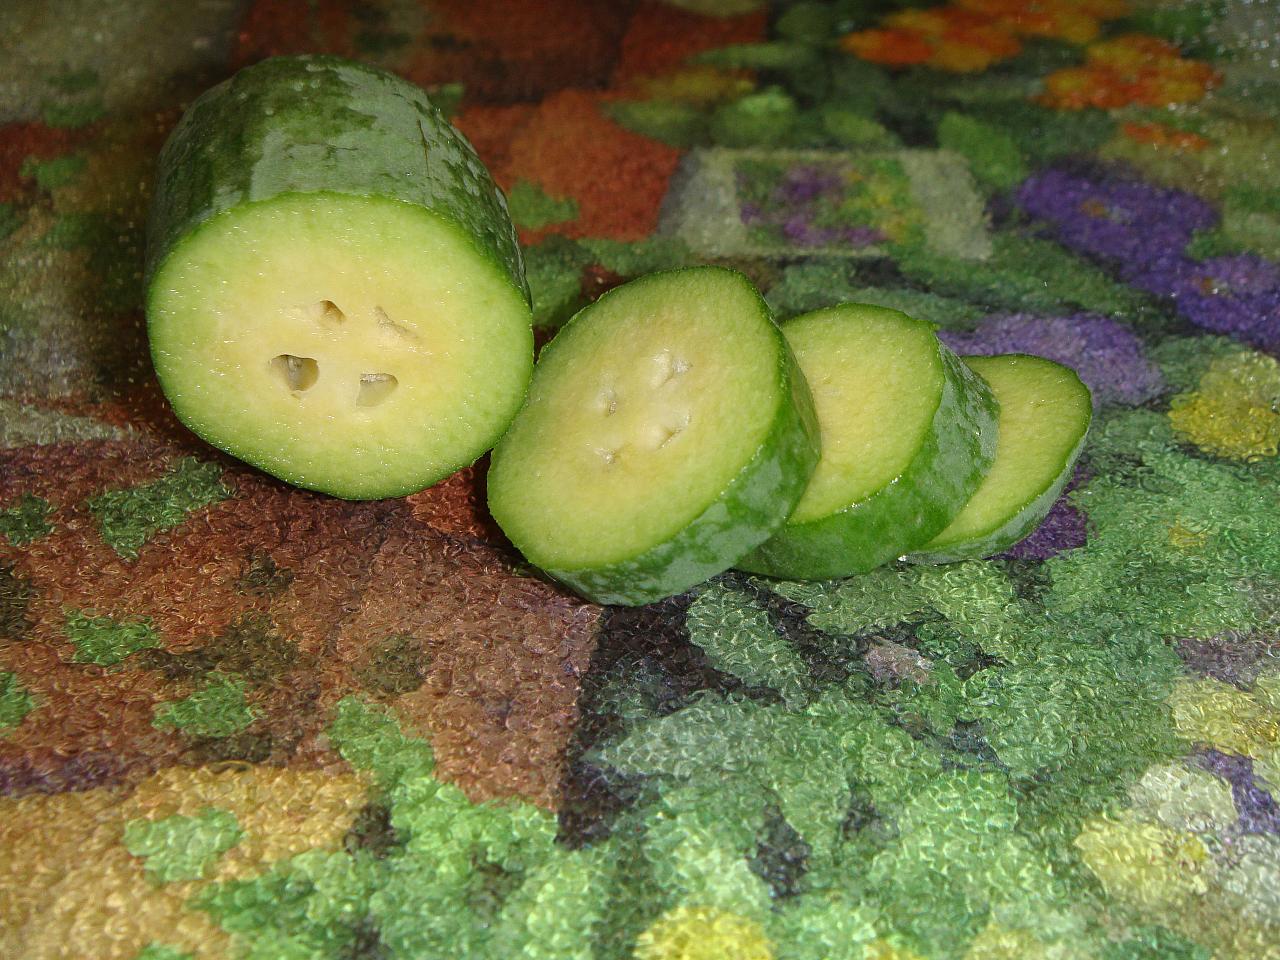
Friends stop by with the most unusual surprises! From the same Point Reyes garden the lemon cucumbers came from, some unusual feijoa (pineapple guava) came my way. Feijoa is a small evergreen shrub originating from the highlands of southern Brazil, parts of Colombia, Uruguay and northern Argentina. They look like cucumbers to me, but they taste very sweet and fruity!

Cut Feijoa

The friend who brought them, Glen, said that you don't have to peel these, just wash and slice. He said they are good for jam and pancake toppings too.

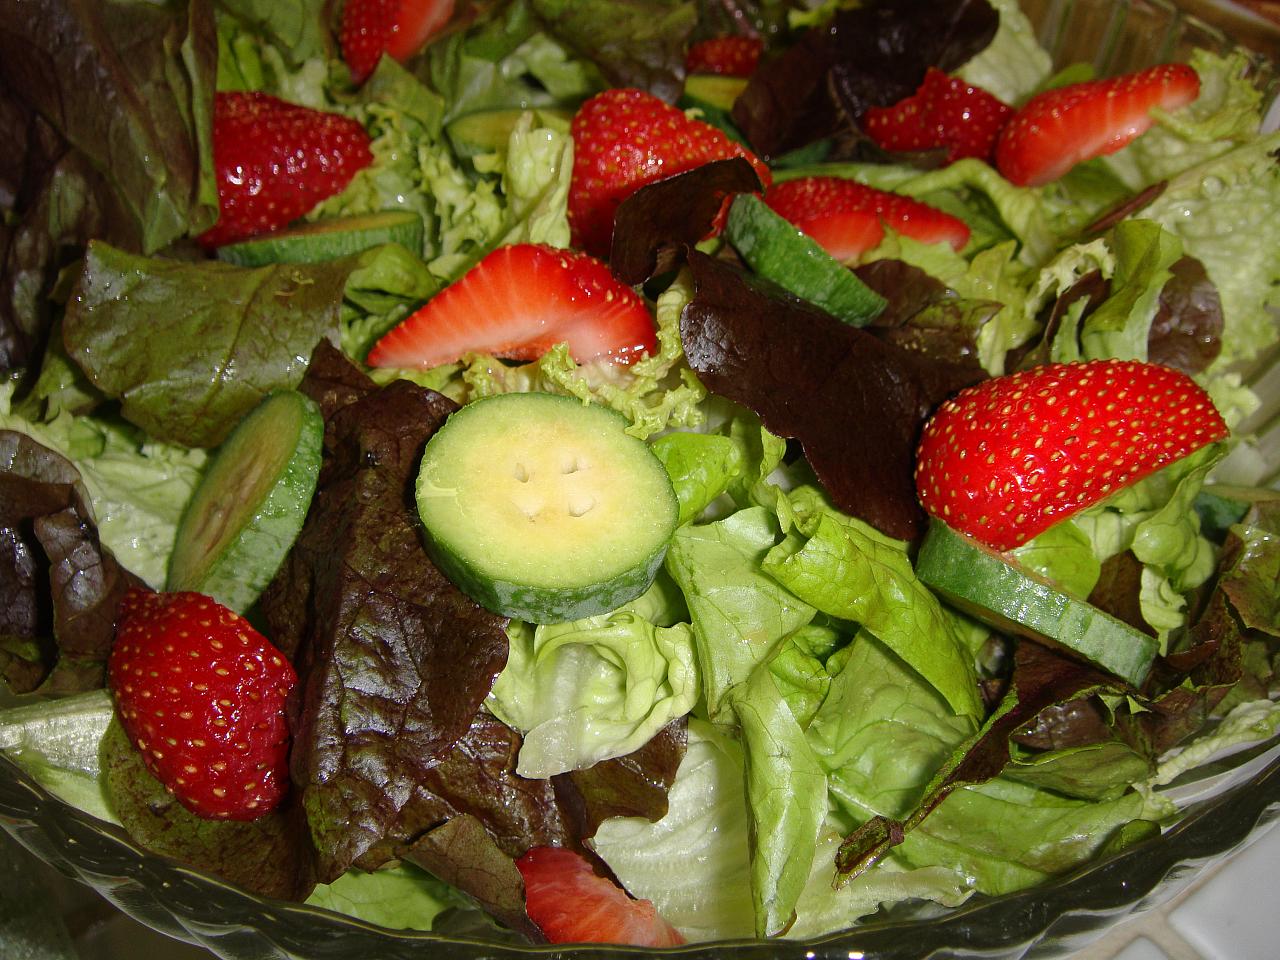
Feijoa in salad

I highlighted the feijoa in a fresh green salad with strawberries. My dinner guest last night, Daniel, exclaimed "These are cucumbers?!" probably not knowing whether to trust his eyes or his taste buds.

And this post just begs to be entered into Weekend Herb Blogging, hosted by Scott of The Real Epicurean this week.

Now some of the information I've been reading on the web says that the fruit is typically eaten by scooping out the sweet interior, and that the skin is rather bitter. I didn't notice any bitterness in this recipe, perhaps because it was with other greens and strawberries.

It also appears pretty healthy with a one-cup serving of puree having 119 calories, with daily values being 104% of fiber, 82% of vitamin C, and 23% of folate to name a few.

Tuesday, November 11, 2008

Enough cooks make a delicious stew

Jonathon & Toran

Jonathon invited my Dad & I over for dinner on Sunday. He had played the role of Executive Chef, and had his kids enjoy being sous-chefs. Three cooks, a chicken carcass and a vegetable drawer brimming with fresh farmer's market veggies a good stew makes! This shot of Jonathon and Toran was taken during the pause between when things were complete, and when we sat down for the feast.

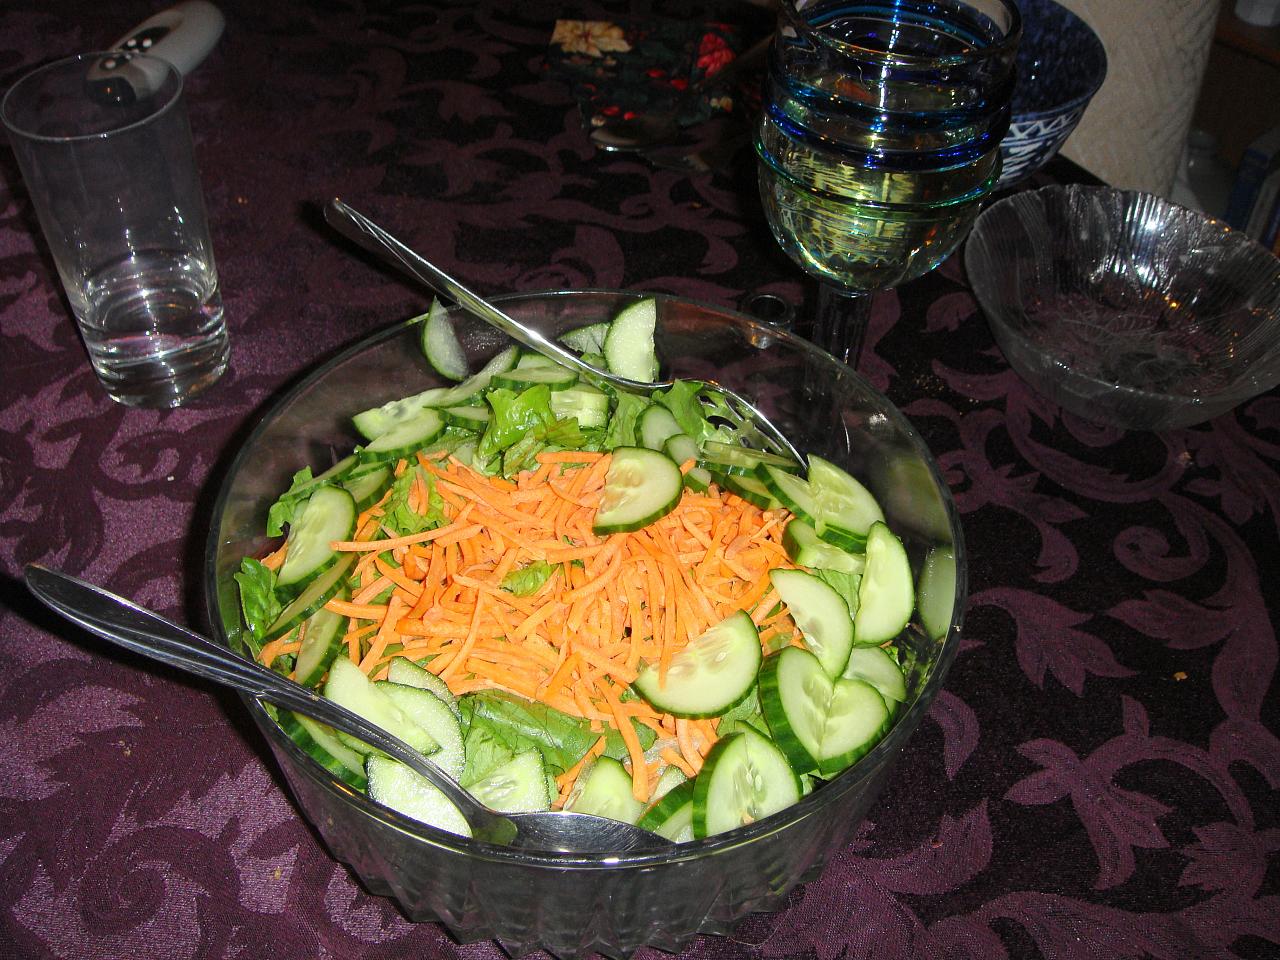
Green Salad

Small hands carefully sliced cucumbers to top these fresh, crisp greens.

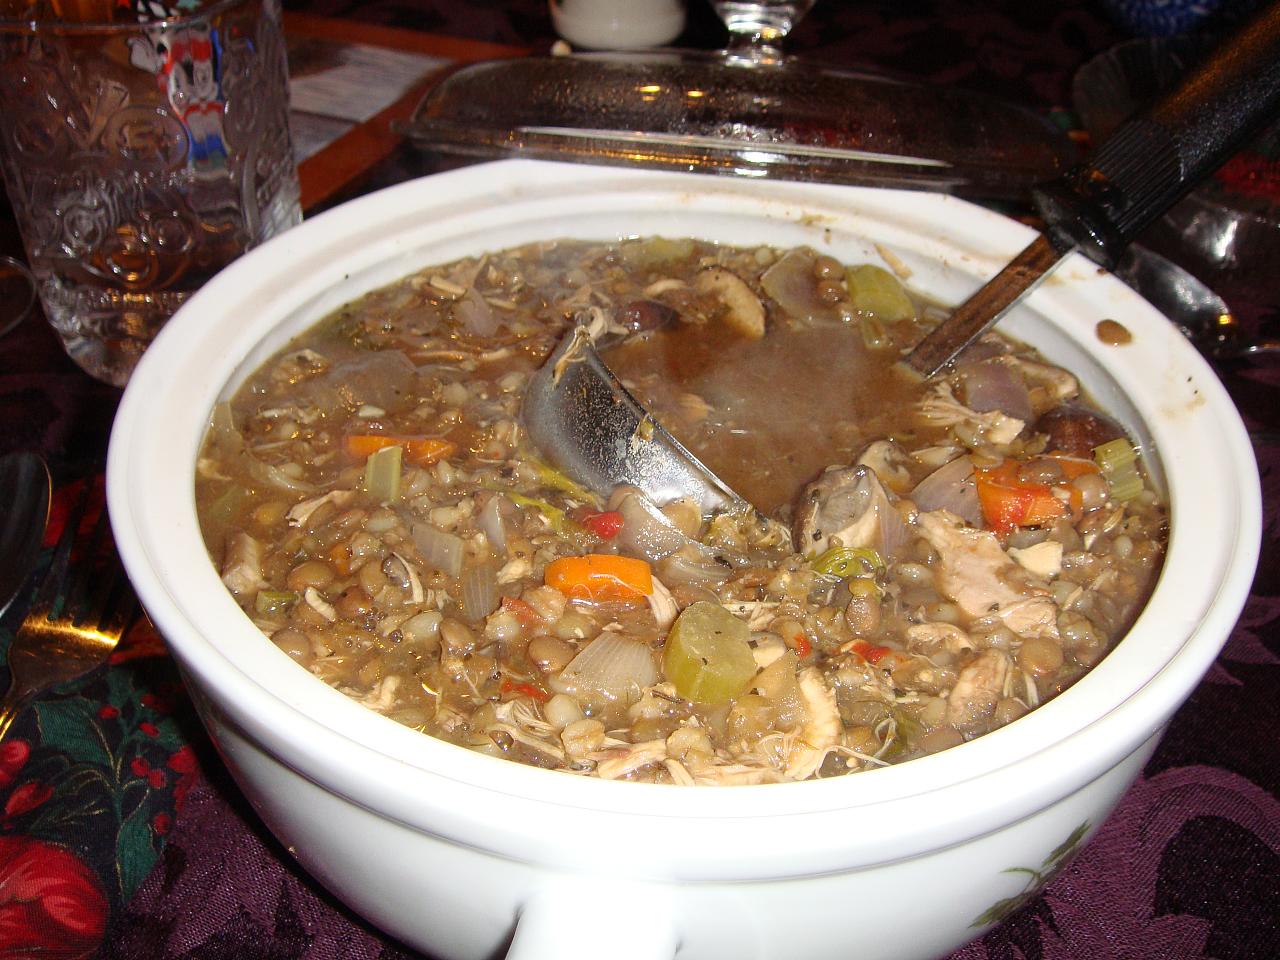
Lentil Soup

Sous chefs Toran and Aurelia did a lot of chopping to put the veggies in with the lentils in the crockpot. Some commented there was a 'weird' herb in the mix, but Jonathon & I with our Scandinavian heritage enjoyed the touch of dill. Jo-Ann did note that if it were a real Scandinavian dish, it wouldn't be just a hint, but it would likely overpower the other ingredients. We agreed.


Jo-Ann gave me a real challenge - of course I didn't need to bring anything, but if I did, it had to be something I already had at home. I knew of the stew, and I had time and felt a little adventurous, so I made an old family favorite, Quick Buttermilk Rolls. I let them finish rising in the car as we were going to Jo-Ann & Jonathon's, and they had the oven ready for them as soon as we arrived. You can see from the wear and tear on the recipe card, I've made this quite a bit. My mother's recipes were often a bit abbreviated as well.

Quick Buttermilk Rolls

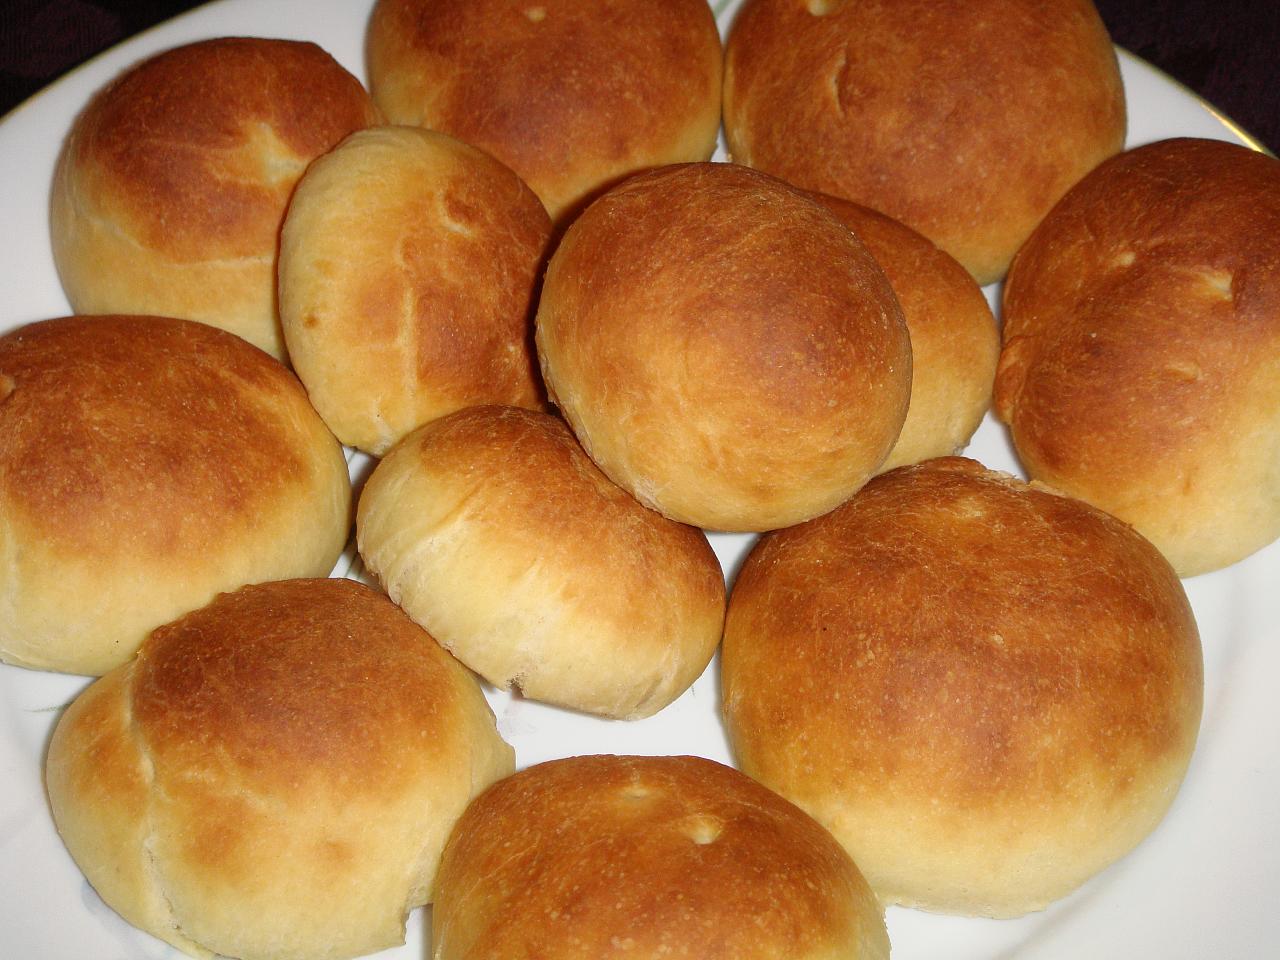
Ten minutes later, this is what we had. These disappeared quickly. The whole meal was perfect. There's nothing like food with family love tucked inside.

Monday, November 10, 2008

The real reason my father lives with me

Egg & Biscuits

It's my mother's biscuits. Those of you who have been following my blog know that my 88 year old father, although he has Alzheimer's, is just too adventurous and lively to go to an assisted living center.  However, I think it must actually be because he wants to still enjoy the taste of my mother's biscuits on occasion. (Probably more often that I gather myself together to make them).  These biscuits have quite a history.  My mother told me this recipe was handed down for many generations, and as far back as she could trace, it came from our maternal line from a Pennsylvania Dutch great -something - grandma.

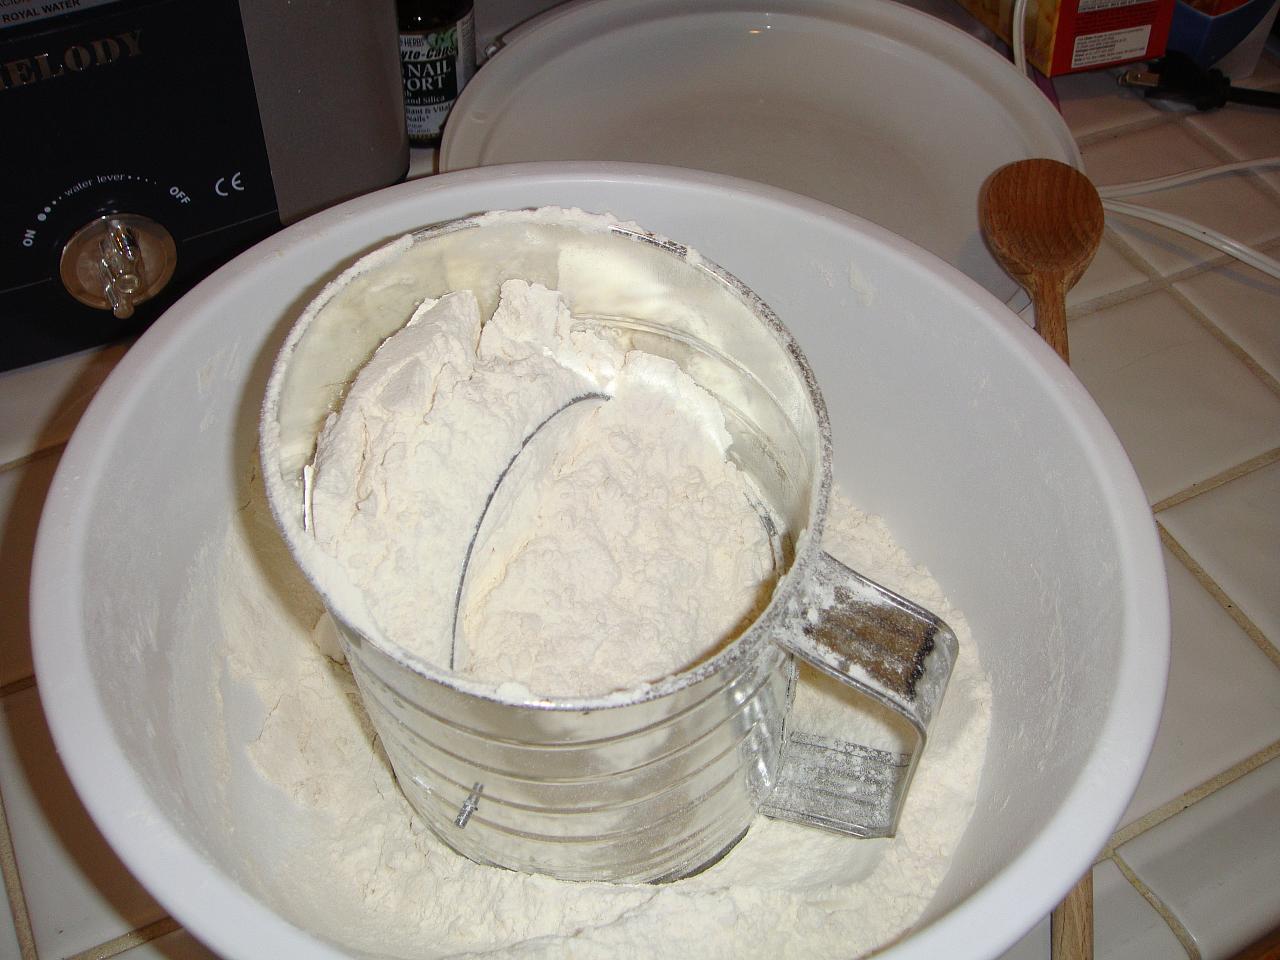
Sifting the flour

My mother never minded giving this recipe out, because the secret is in the feel, and the proportions are approximated.  None of her friends could replicate it even with the 'recipe'.  The first important thing is that you get the right flour. The original recipe calls for a soft wheat flour, one that is suitable for quick breads.  Now, mom (and later I) have experimented with various other flours, mostly as adds to the flour in some proportion, with varying results.  My mother even used hard winter wheat sometimes, with much crunchier results, but she liked the higher protein levels.  She also often added a little soy flour for the same reason.  The flour isn't actually measured, she just kept a big bowl of flour and made only biscuits in it.  So the first step is to sift the flour in your big, high-sided bowl.
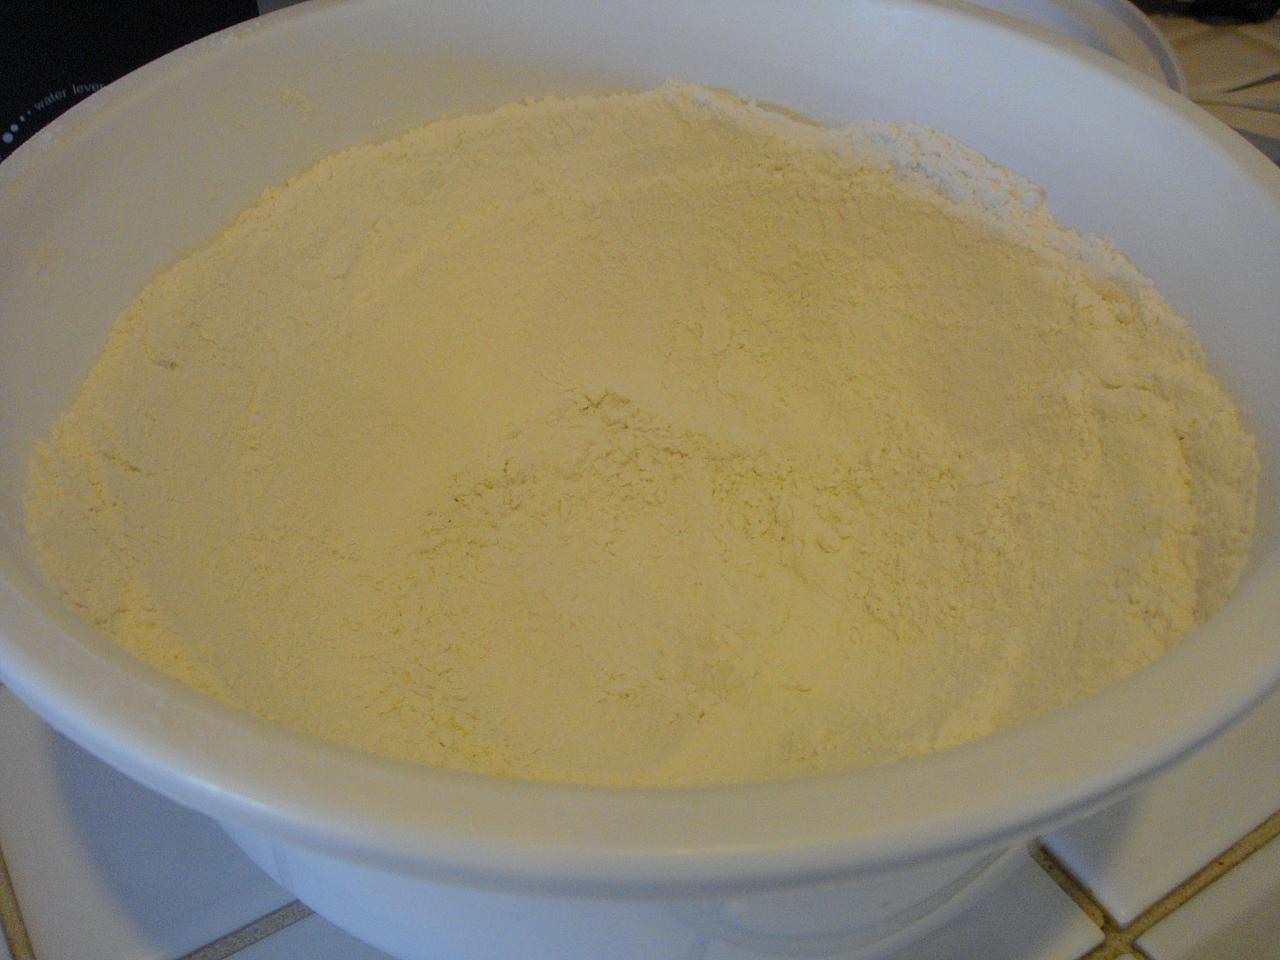
Make a well

Then you create a well in the bowl of flour, making the sides relatively thick.  You'll be adding the wet and dry ingredients into the well, and then gradually incorporating flour from the sides and bottom into the mix.  
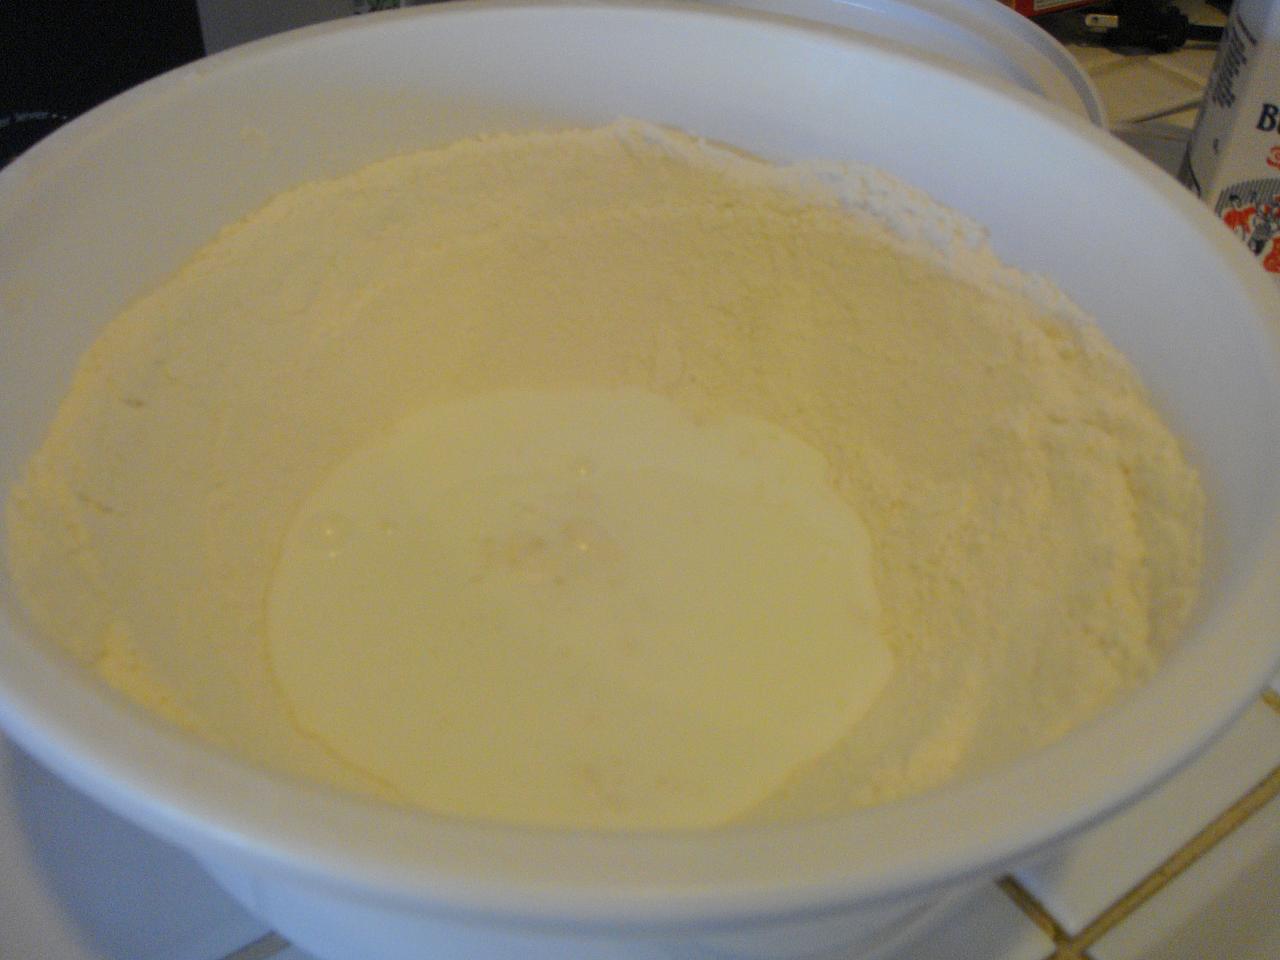
Buttermilk first

When I was about six, we moved into a house with an old wood burning stove in the kitchen.  I think my mother chose the house for that stove!  She said that nothing, especially biscuits, tasted as good as out of one of these very old fashioned stoves.  I think she was right, but it took a lot of experience to get the stove at the right temperature and maintain it througout the cooking cycle. Another critical thing for making these biscuits taste their best is using REAL old-fashioned buttermilk. You can really taste a huge difference based on the quality of the buttermilk that goes in.  For this batch I used Berkeley Farms Bulgarian Cultured Buttermilk.  You pour one cup carefully into the well as the starting point.
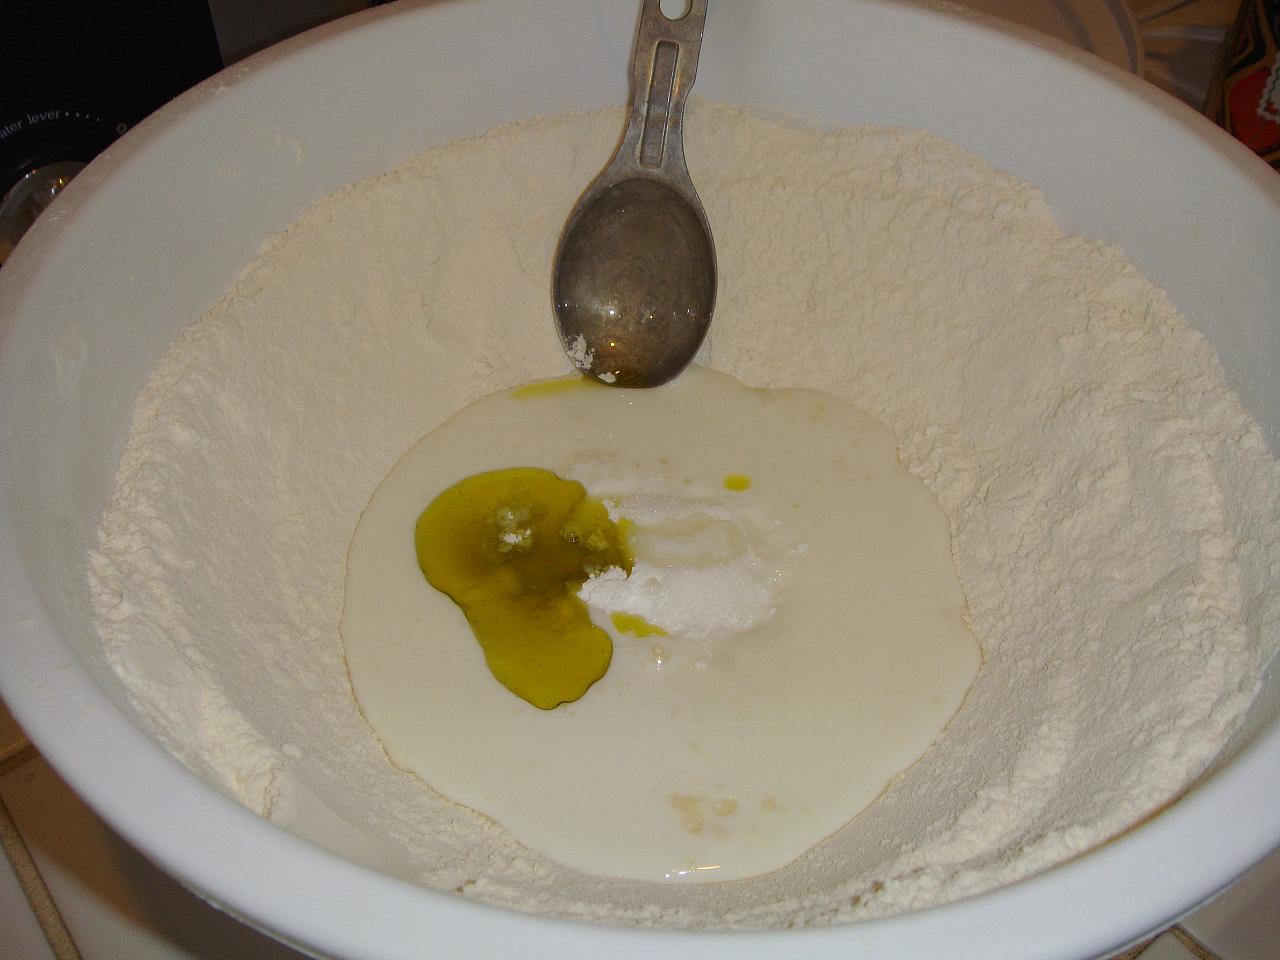
Ingredients topping buttermilk

Then you add the dry and wet ingredients into the well, soda, salt, baking powder, sugar and oil.  I use my mother's old beaten up aluminum measuring spoon set for luck.  My mother swore by Clabber Girl baking soda, and wouldn't have any other in the house.  I used extra virgin olive oil in this batch, simply because it was the one I had open and fresh.  It doesn't seem to affect the taste.  My mother usually used corn, saffola or canola oil, which have less obvious flavor.

Gently mix

From here you mix the ingredients gently in the buttermilk, and start slowly incorporating the flour from around the edges. It is important to do this gently, beating will make for tough biscuits.  To continue with the biscuit history, when I was a senior in high school, my mother's first husband Jim became ill and eventually died of cancer.  He lived in Seattle, and wanted to see my mother again, and since my mother didn't drive, I drove her to see him a week or so before his passing.  When he saw her, I witnessed his last request of her - to bake him a batch of those biscuits!
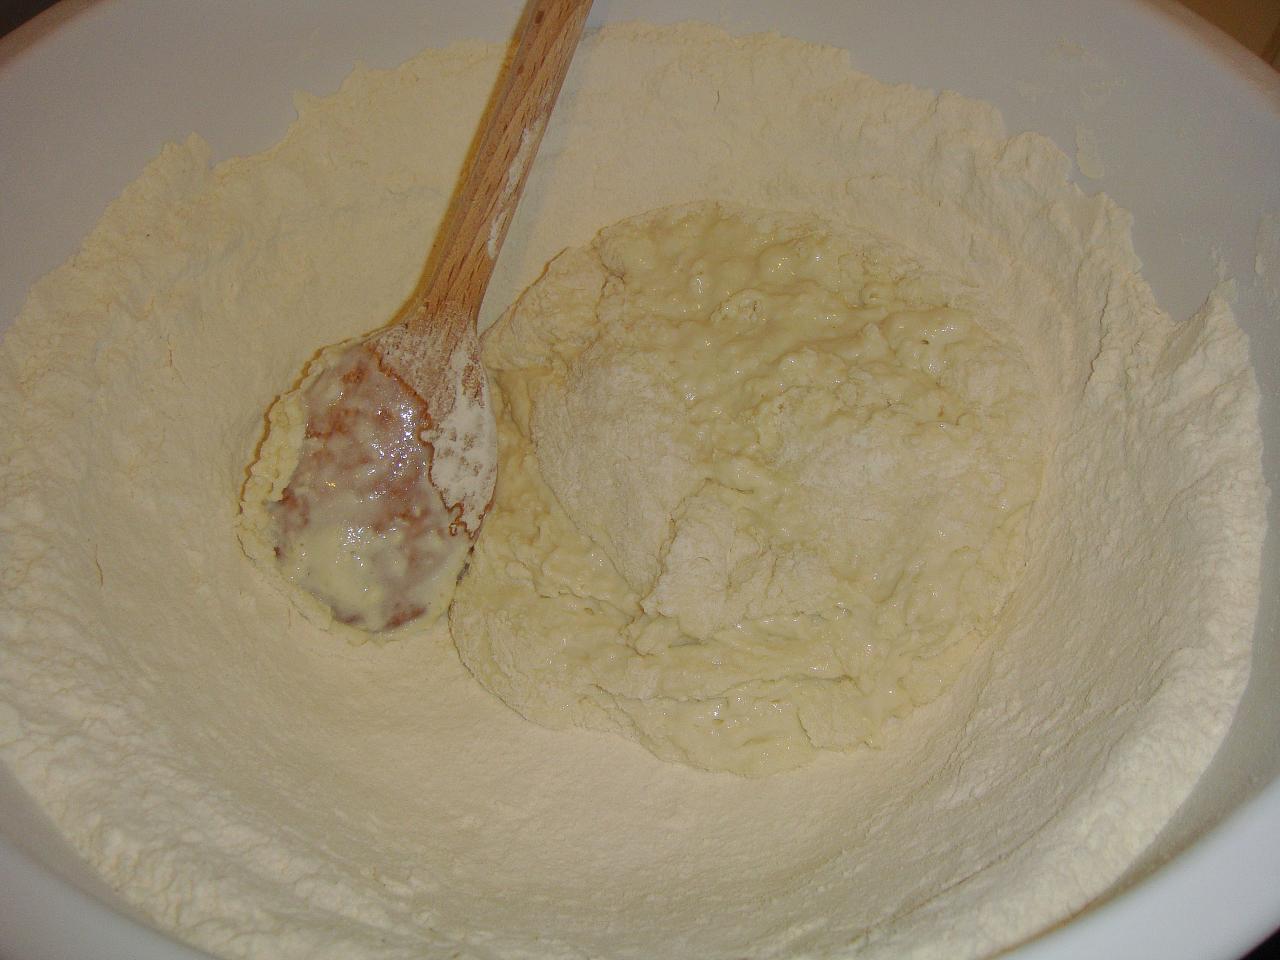
form a soft ball

Now this is where the 'feel' comes in.  You have to continue stirring in the flour until it 'feels right'.  Now another secret is that the amount of flour that eventually ends up in the biscuits has a lot to do with the kind of flour, the age of the flour and the weather conditions!  So all you need to do is include enough of the flour to get the right feel at the finishing point.  I have to admit, I'm still a bit of a chicken and tend to stop on the soft side which makes more of a drop biscuit. But they still taste good!  The photo above is still too soft.  My mother used to incorporate just enough so she could almost 'spin' these into little biscuit rounds and place on the baking sheet. 

Drop on baking pan

I dropped mine rather haphazardly on the baking sheet sprayed with Pam.  These go into a preheated 'hot' over for 11-15 minutes.  My mother's definition of hot was 500F, no kidding.  She put them into a normal large sized oven at this temperature.  This temperature doesn't work well with the smaller one in my range.  (I have a small one on top, and a normal one beneath).  I bake mine at 400F in the smaller oven.  Now for some more story, my mother's last words to my father before she collapsed of a stroke were, "I'm sorry Charles, I don't think I will be able to cook for you any more".  According to my father, she'd just taken out a batch of biscuits from the oven.  With this long history of biscuits in my family, I have to wonder what events these have been associated with in years past!

Baked biscuits

And here are the ones I took out of the oven.  And what prompted the biscuit baking this time? I heard from my niece Erika, that my 11 year old great-niece, Collette asked her yesterday if she would make "Auntie Anna's" biscuits and strawberry jam for breakfast when she returned home from her Dad's.  I showed Erika and the twins how to bake them this summer, and so we have a new generation of biscuit makers in the family.


This is my mother's 'standard' recipe that I transcribed when I was in college.  "Hot oven" did mean 500F to my mother, but I find success with 400F.


And this is one in my mother's hand, a variation that she particularly liked. She had some spelling issues, but the results are good just the same.