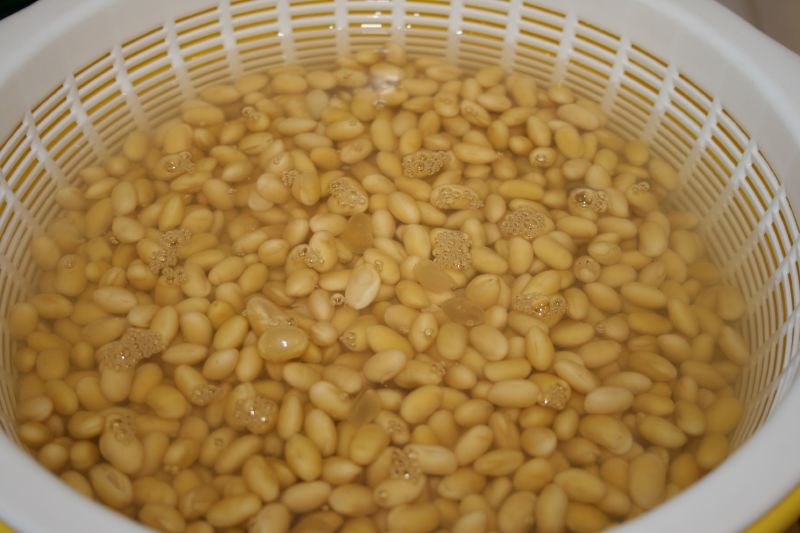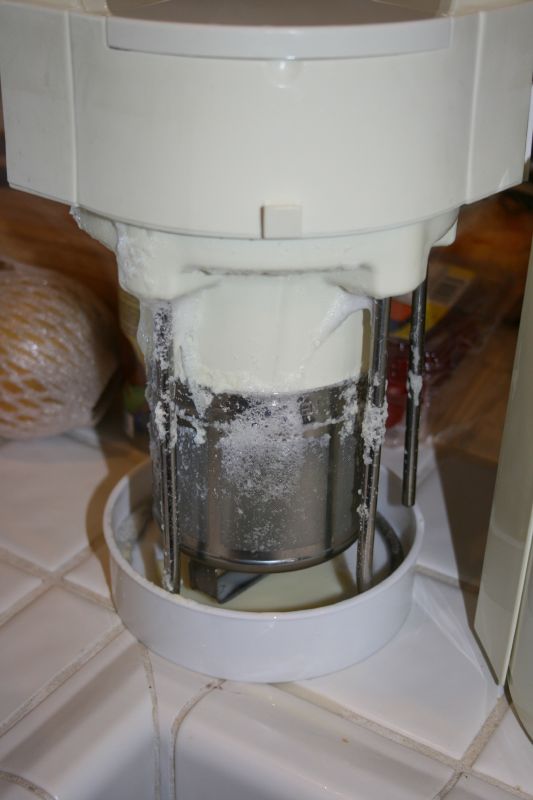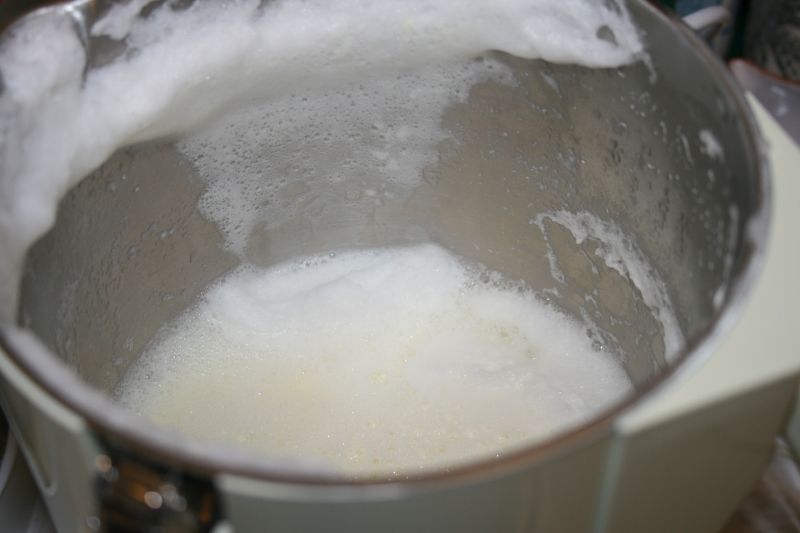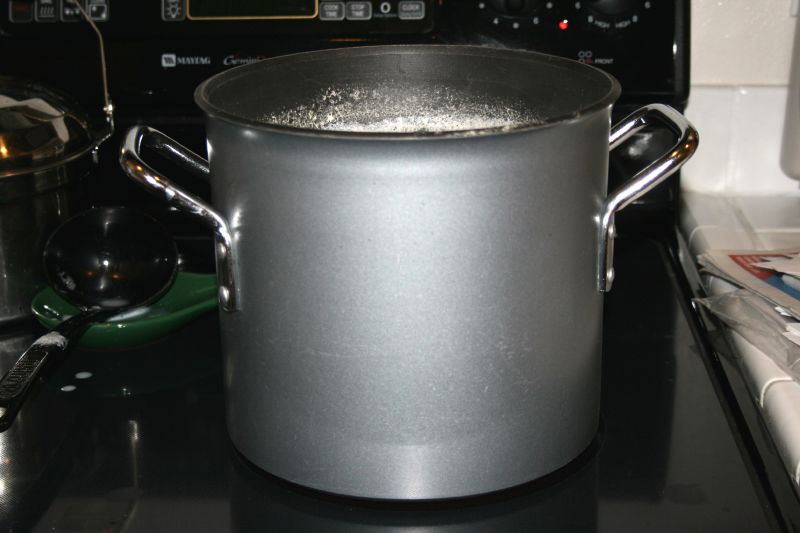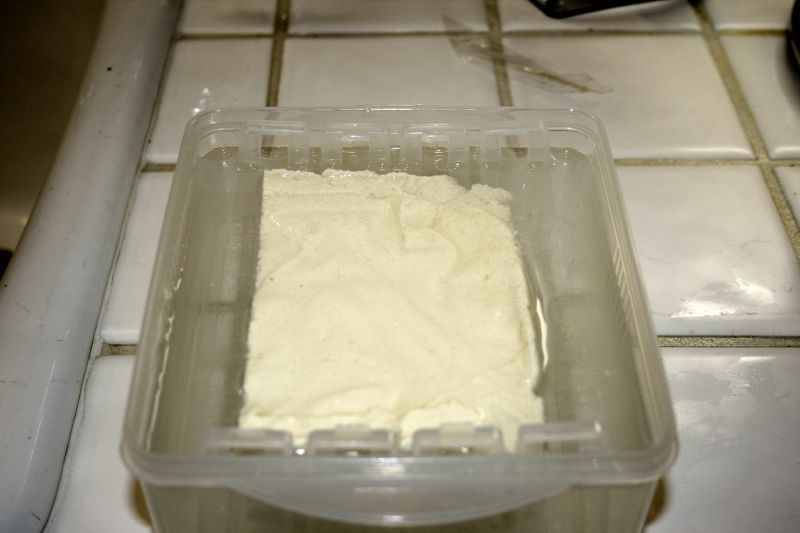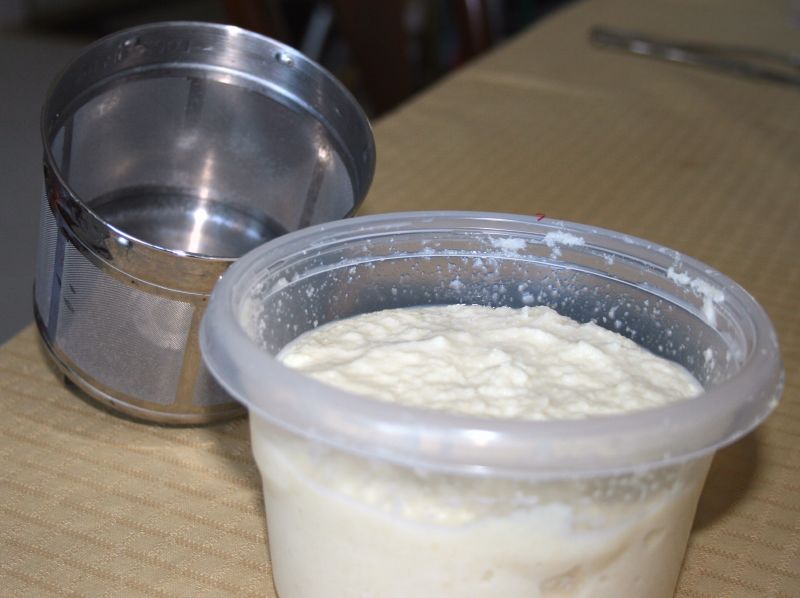
Using the whole bean. In my previous post today, I chronicled my efforts to make soy milk and tofu for the first time. When you make soy milk, there is a product called 'okara' which is left over -- in my soy maker a little over a cup. The filter cup is in the above photo, as well as the okara left from two batches of soy milk. The okara produced by the home soy milk making process is noticeably wetter than the commercial okara you may find in the Japanese supermarket. To get to the commerical version (one most cited in recipes) you just need to simmer or microwave some of the water off until its a bit more flaky. Okara is low in fat, high in fiber, and also contains protein (17% of the original bean), calcium, iron and riboflavin. Okara is often used in making veggie burgers. In fact the nutritional profile for okara, per 100 grams looks like:
Calories 77
Protein 3.2 g
Carbohydrate 12.5 g
Fiber 4.1
Calcium 80
Iron 1.3
Thiamin 0.02 mg
Riboflavin 0.02 mg
Niacin 0.1 mg
It's a keeper for nutrition! So this morning, I made 'Okara Scrambled Eggs' to use about a cup of it.
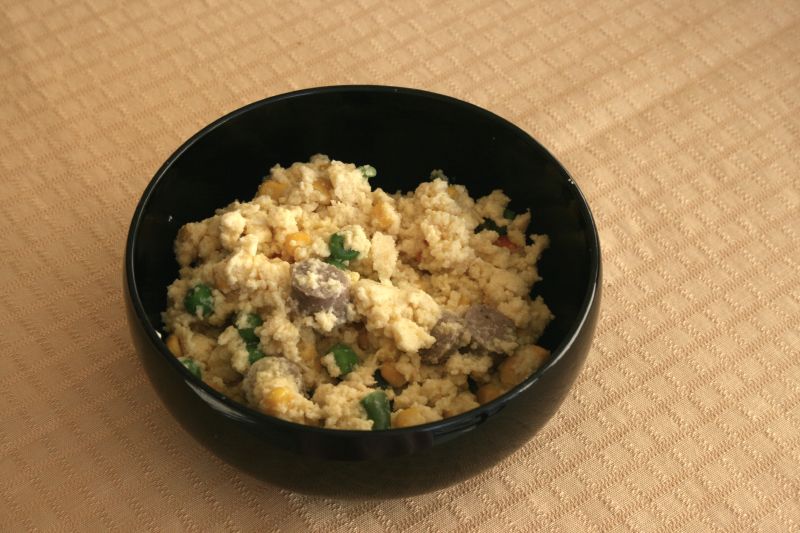
Okara Scrambled Eggs
3 eggs, beaten
1 cup okara (about)
2 tablespoons olive oil
2 sage turkey links (fully cooked) - any sausage will do
1 cup frozen organic mixed vegetables
2 tablespoons tsuyu*
3 tablespoons mirin (sweet rice wine)
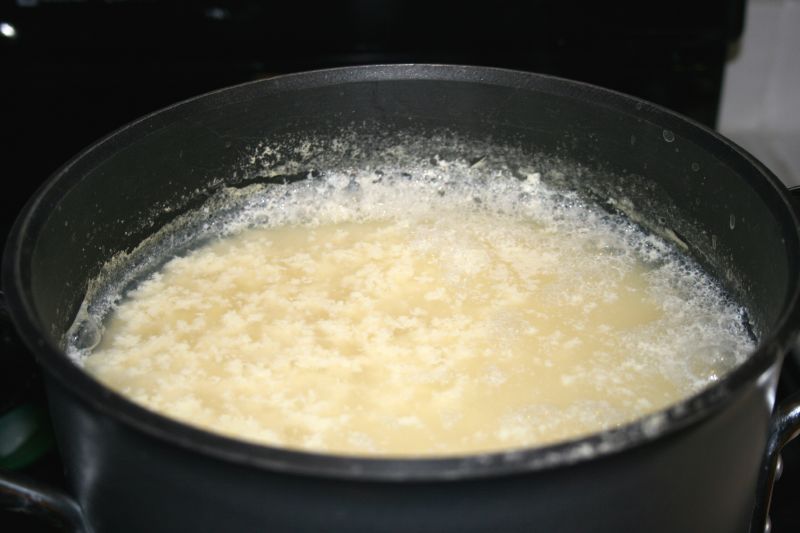
Cut sausage into bite size pieces. Heat oil in non-stick pan, saute sausage and frozen vegetables until nearly cooked, add okara. Stir okara in, continuing to cook, reducing moisture. Make a well in the middle and pour in the tsuyu and mirin, mixing the two together and into the okara mixture. Continue simmering to reduce moisture, stirring often. Slowly add beaten eggs into mixture, incorporating well into the hot okara. When the eggs are done to your liking, spoon onto plates. It tastes nearly like scrambled eggs, with veggies except it has a little more moisture and texture.
*Tsuyu can be found at Japanese grocers, but it is just a concentrated mixture of dashi (fish stock) and soy sauce, so you can make your own blend of these items to add if you don't have tsuyu readily available.
The photo is only a portion of the recipe, I had already plated Dad's & my breakfast before putting the rest out of the frying pan into a bowl.
Someone who makes soy milk a lot put together an Okara Cookbook, which has some interesting recipes.
Now I've demonstrated in two posts, how to use the entire soybean! Of course there are other uses too, but I don't think I'll be making soy sauce at home, and probably not miso either.
History of Tofu
Tofu was first created in China a very long time ago - about 164 BC. There are three competing stories of its origin. First is that Lord Lu An invented it during the Han Dynasty. The second is that a cook tried experimenting with flavoring soy milk with nigari, and found it to produce curds. The third is that the Chinese were trying to apply a technique for milk-curdling learned from the Mongolians or East Indians to soy milk.
Tofu was introduced from China to Japan in the Nara period, coinciding with the introduction of Buddhism, and its tenet of vegetarianism. In the Edo period, a recipe book for tofu "Tofu Hyakuchin" was published, listing 100 recipes for tofu.
Tofu has become quite popular in the west with its health benefits. Did you know that most of the soy beans used to make tofu in Japan are from the U.S.?
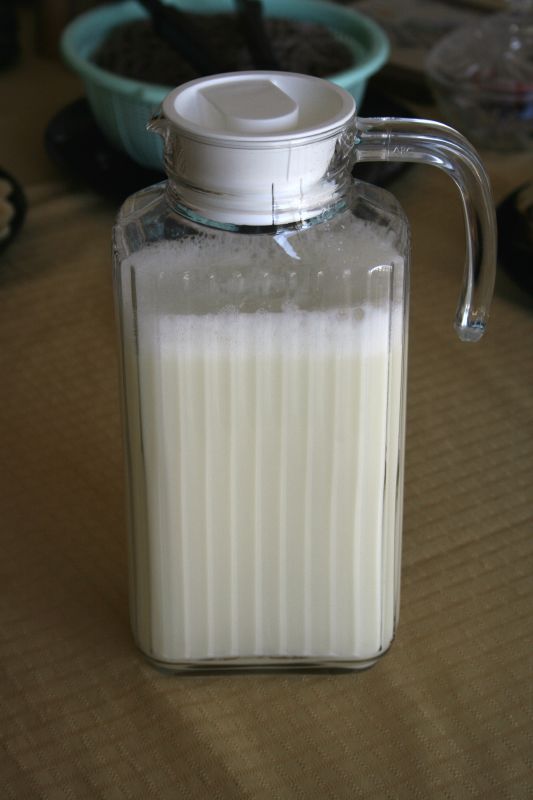
And by the way, making your own soy milk and tofu is VERY cheap, although you have to put some labor into it. It is certainly fresher, and may also be healthier than commercial. I had been thinking about doing this for some time, and these articles about the probably bad health consequences of an additive in commercial soy milk gave me the impetus: http://fanaticcook.blogspot.com/2006/12/carrageenan-its-use-doesnt-gel.html
So that's the scoop on soy beans and its uses for today!